Do you want to know How to Add Facebook Messenger To WordPress, HTML, Wix & Shopify Website. If yes, then keep reading this post today. And how to add Facebook Messenger to any website. Know this.
Often you have seen that there are many such websites. Which includes Facebook Messenger’s Live Chat widget, Tab or Feature. Using which any user visiting your website using Facebook from your website. You only get the message from your website on your Facebook page.
Read Also:) What Is Facebook Instant Article & Its Advantages & Disadvantages?
Apart from this, let me tell you that the user is using the website in the browser. And if you want to chat with you using this Live Chat of Facebook Messenger, then that user’s browser should have his Facebook Log In. Then he can do live chat with you.
But friends, this is not our problem. If the user wants to talk to you, then he has to do it. But we will have to add this Live Chat, widget, Tab, Feature, and Box to our website. So if you want to know. So keep this post.
How to Add Facebook Messenger To WordPress & HTML Etc. Website!
So friends if you want to add Facebook Messenger’s Live Chat widget, Tab, Feature, and Box to your website in any WordPress, HTML, Wix & Shopify Website. So follow these steps.
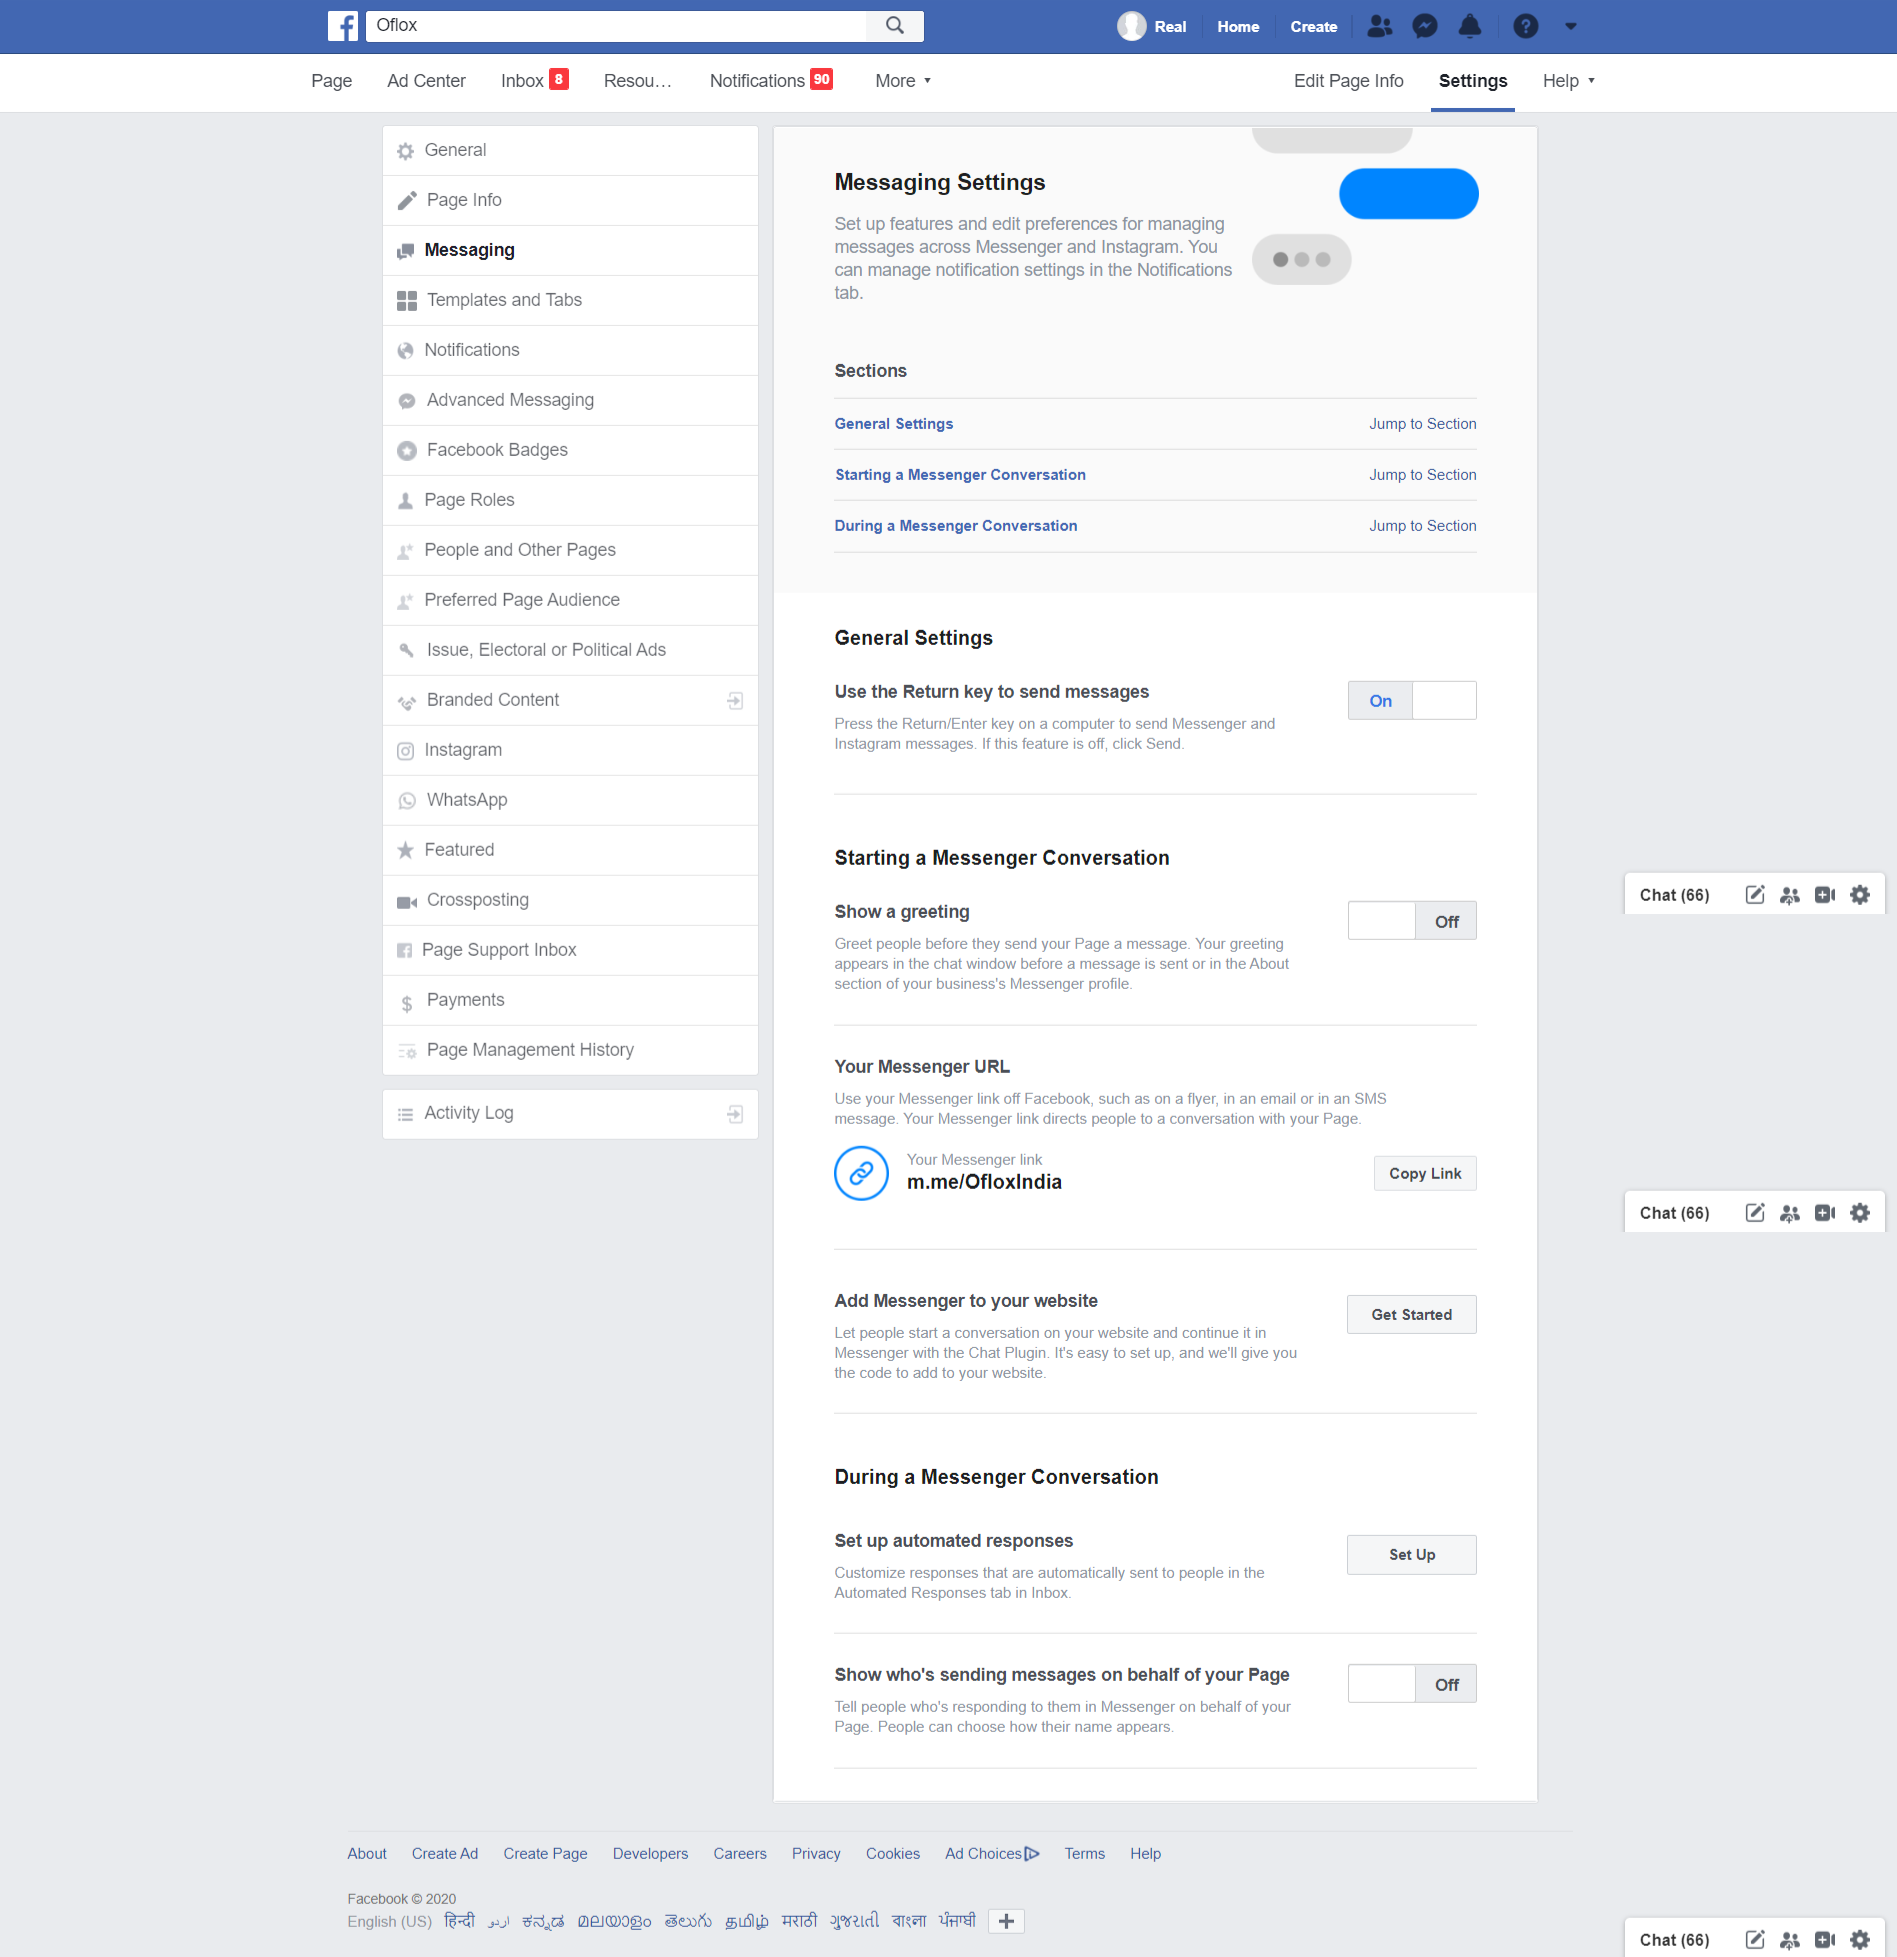
- First of all, you open your Facebook page.
- Go to his settings.
- Click on the Messaging Tab.
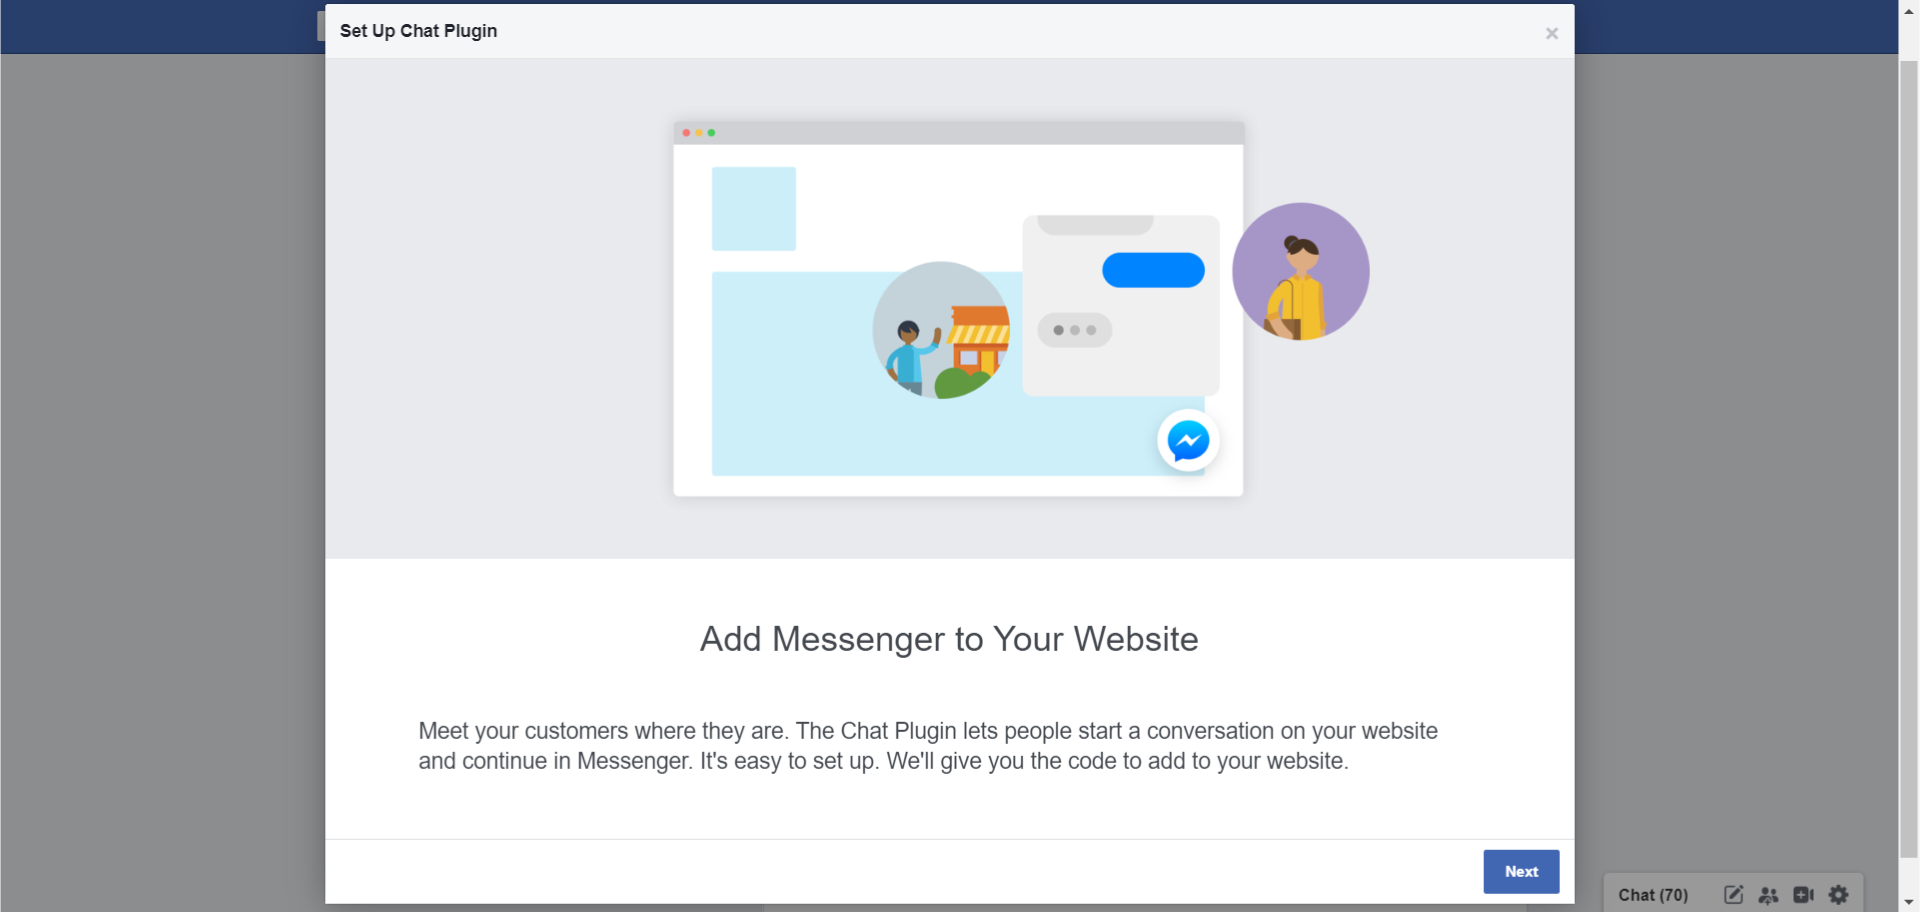
- Click on the Get Started button of Add Messenger to your website.
- Now you have to click on the button of Next.
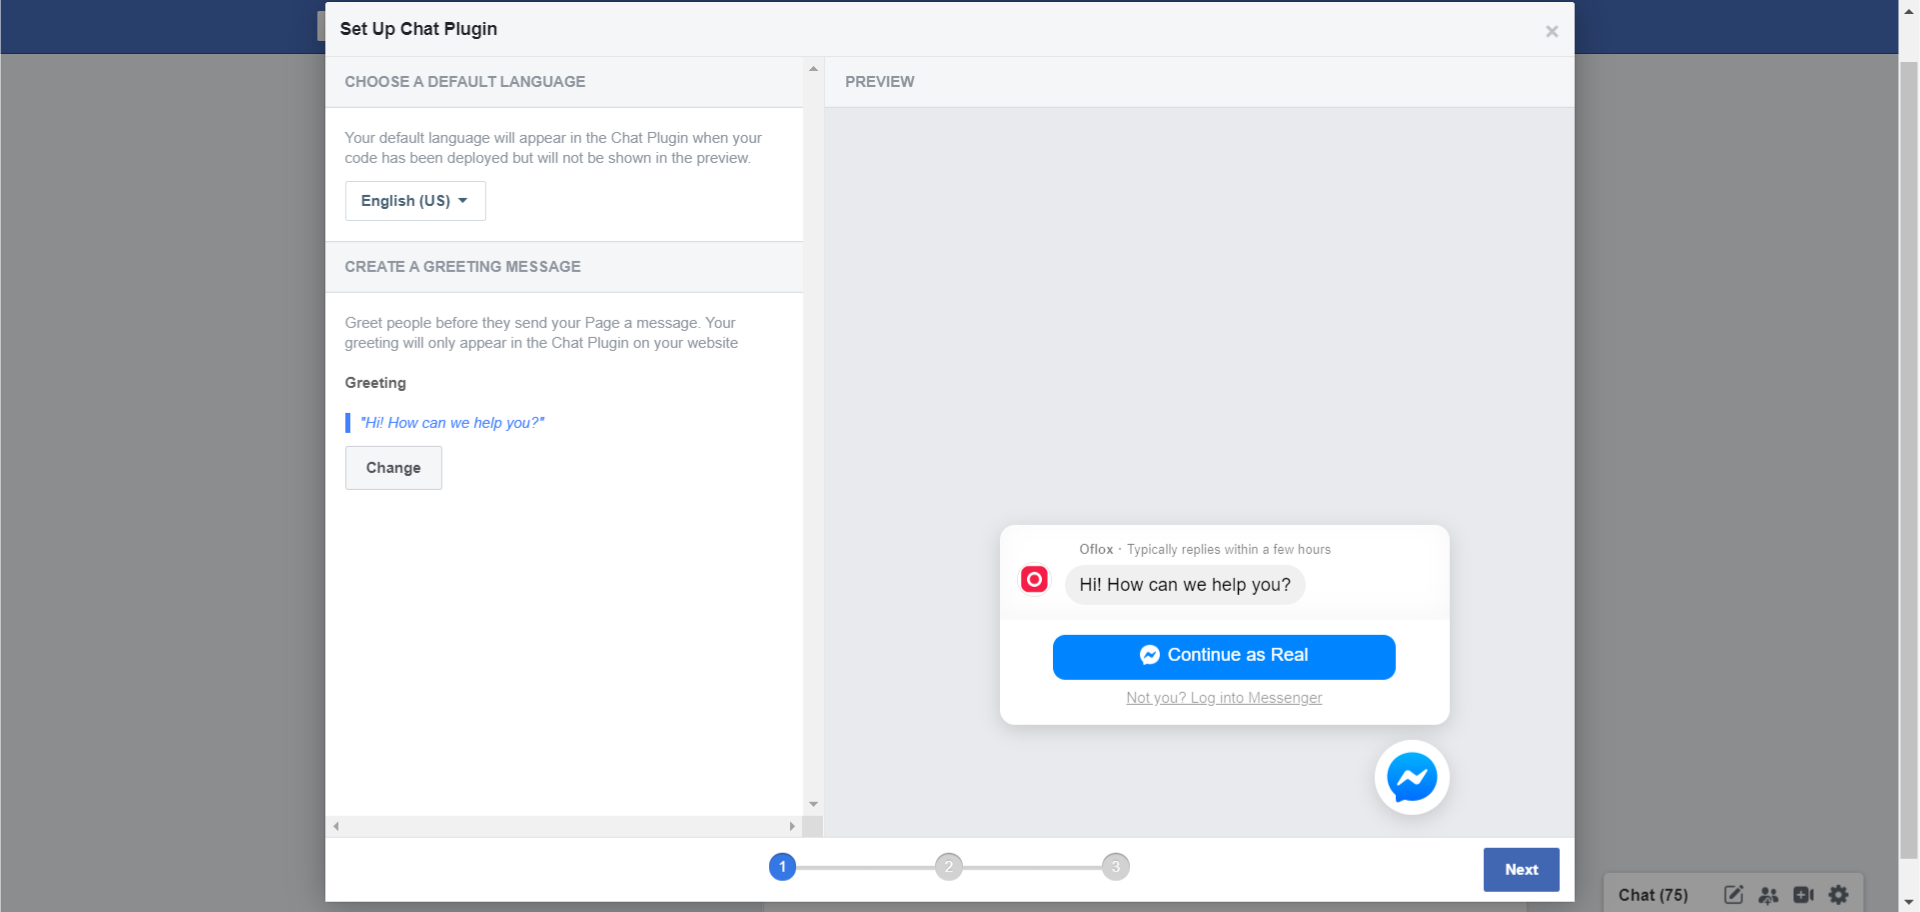
- Here you can change your Greeting text change. After which you have to click on the Next button again.
- Now here you can change its color according to your website. After which you have to click on the button next.
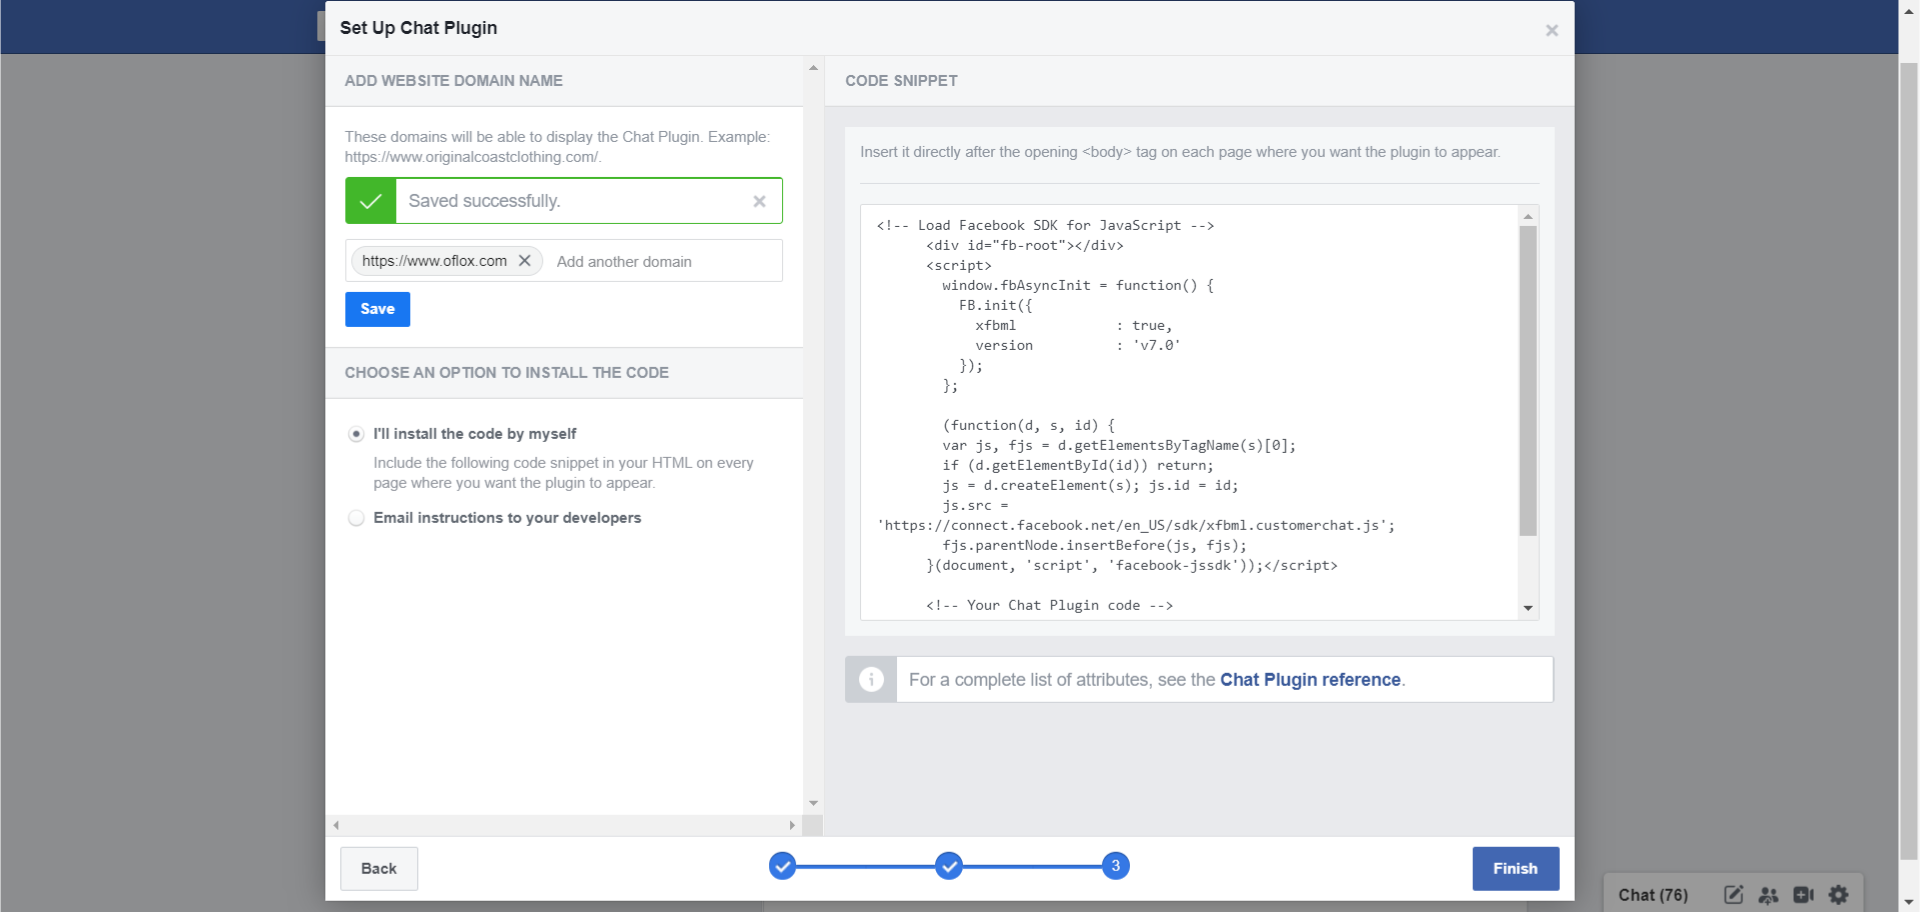
- After this, now you want to place the Live Chat widget of this Facebook Messenger in any website. You add that domain name here and then save it. Now the code you are getting here. You have to copy it.
And if you can’t do it. So you can copy this string. In this, you have to enter the ID of your Facebook page. And you can use it.
<!-- Load Facebook SDK for JavaScript -->
      <div id="fb-root"></div>
      <script>
        window.fbAsyncInit = function() {
          FB.init({
            xfbml            : true,
            version          : 'v7.0'
          });
        };

        (function(d, s, id) {
        var js, fjs = d.getElementsByTagName(s)[0];
        if (d.getElementById(id)) return;
        js = d.createElement(s); js.id = id;
        js.src = 'https://connect.facebook.net/en_US/sdk/xfbml.customerchat.js';
        fjs.parentNode.insertBefore(js, fjs);
      }(document, 'script', 'facebook-jssdk'));</script>

      <!-- Your Chat Plugin code -->
      <div class="fb-customerchat"
        attribution=setup_tool
        page_id="0000000000000000">
      </div>
Now if you have a WordPress website. So you go to Appearance> Customize> Widgets> take this “Custome HTML” anywhere and give this code past in it and then save it. After which the Live Chat Widgets of Facebook Messenger will be added to your website.
But if your website is built on HTML and PHP. So you should past this code inside <body>. After which the Chat Box of Facebook Messenger will also be added to your website.
So guys, I hope you have already learned how to add Facebook Messenger to WordPress & HTML Etc. Website. If you still have any questions and suggestions. So you can tell us in the comment box below.