How To Customize WordPress Login Page Without Plugin (Easy Way)
Hello friends, do you want to know How To Customize WordPress Login Page Without Plugin (Easy Way). In this, we are going to tell you how to design the login page without using any plugin. So let’s read this post.
As we all know that wordpress allows full access to its users. In such a way, you can customize the wordpress site any way you want. If you know coding then you can build a high level website by using wordpress as CMS.
For those whose blogs work with multiple authors, it is very important to customize their login page. Because by default the design of our site’s login page is much simpler. If you customize them, it will be better.

If you visit your blog’s login page daily, then after some time you will find its design boring. We keep changing the theme of our blog regularly. But very few people know that we can also customize our login page.
Read Also:) How to Add Facebook Messenger To WordPress & HTML Etc. Website!
You can customize the login page of your blog without any plugin from the very hack. For this, you can take help of some codes. You do not have to install any kind of plugin in your blog. So, today we are going to tell you about this.
Table of Contents
How To Customize WordPress Login Page Without Plugin (Easy Way)
As you all know that we will not use any plugin for this. So before proceeding, make sure to backup your blog. If you trouble the new user code then errors will start coming. Follow them carefully.
1: Change the Logo!
If you want to change the logo of your login page, for this you have to add a simple code to your theme’s functions.php. Let’s know about this.
First, login to the blog and go to Media >> Add New and upload your logo and copy its URL.
Now you have to copy the below code.
function blhi_login_logo() {echo '<style type="text/css">
body {
background-image: url(https://www.oflox.com/images/logo-dark.png);
font-family: Arial,Verdana,sans-serif;
}</style>';
}
add_action('login_head', 'blhi_login_logo');
In this code, you have to replace the URL of your logo in place of https://www.oflox.com/images/logo-dark.png.

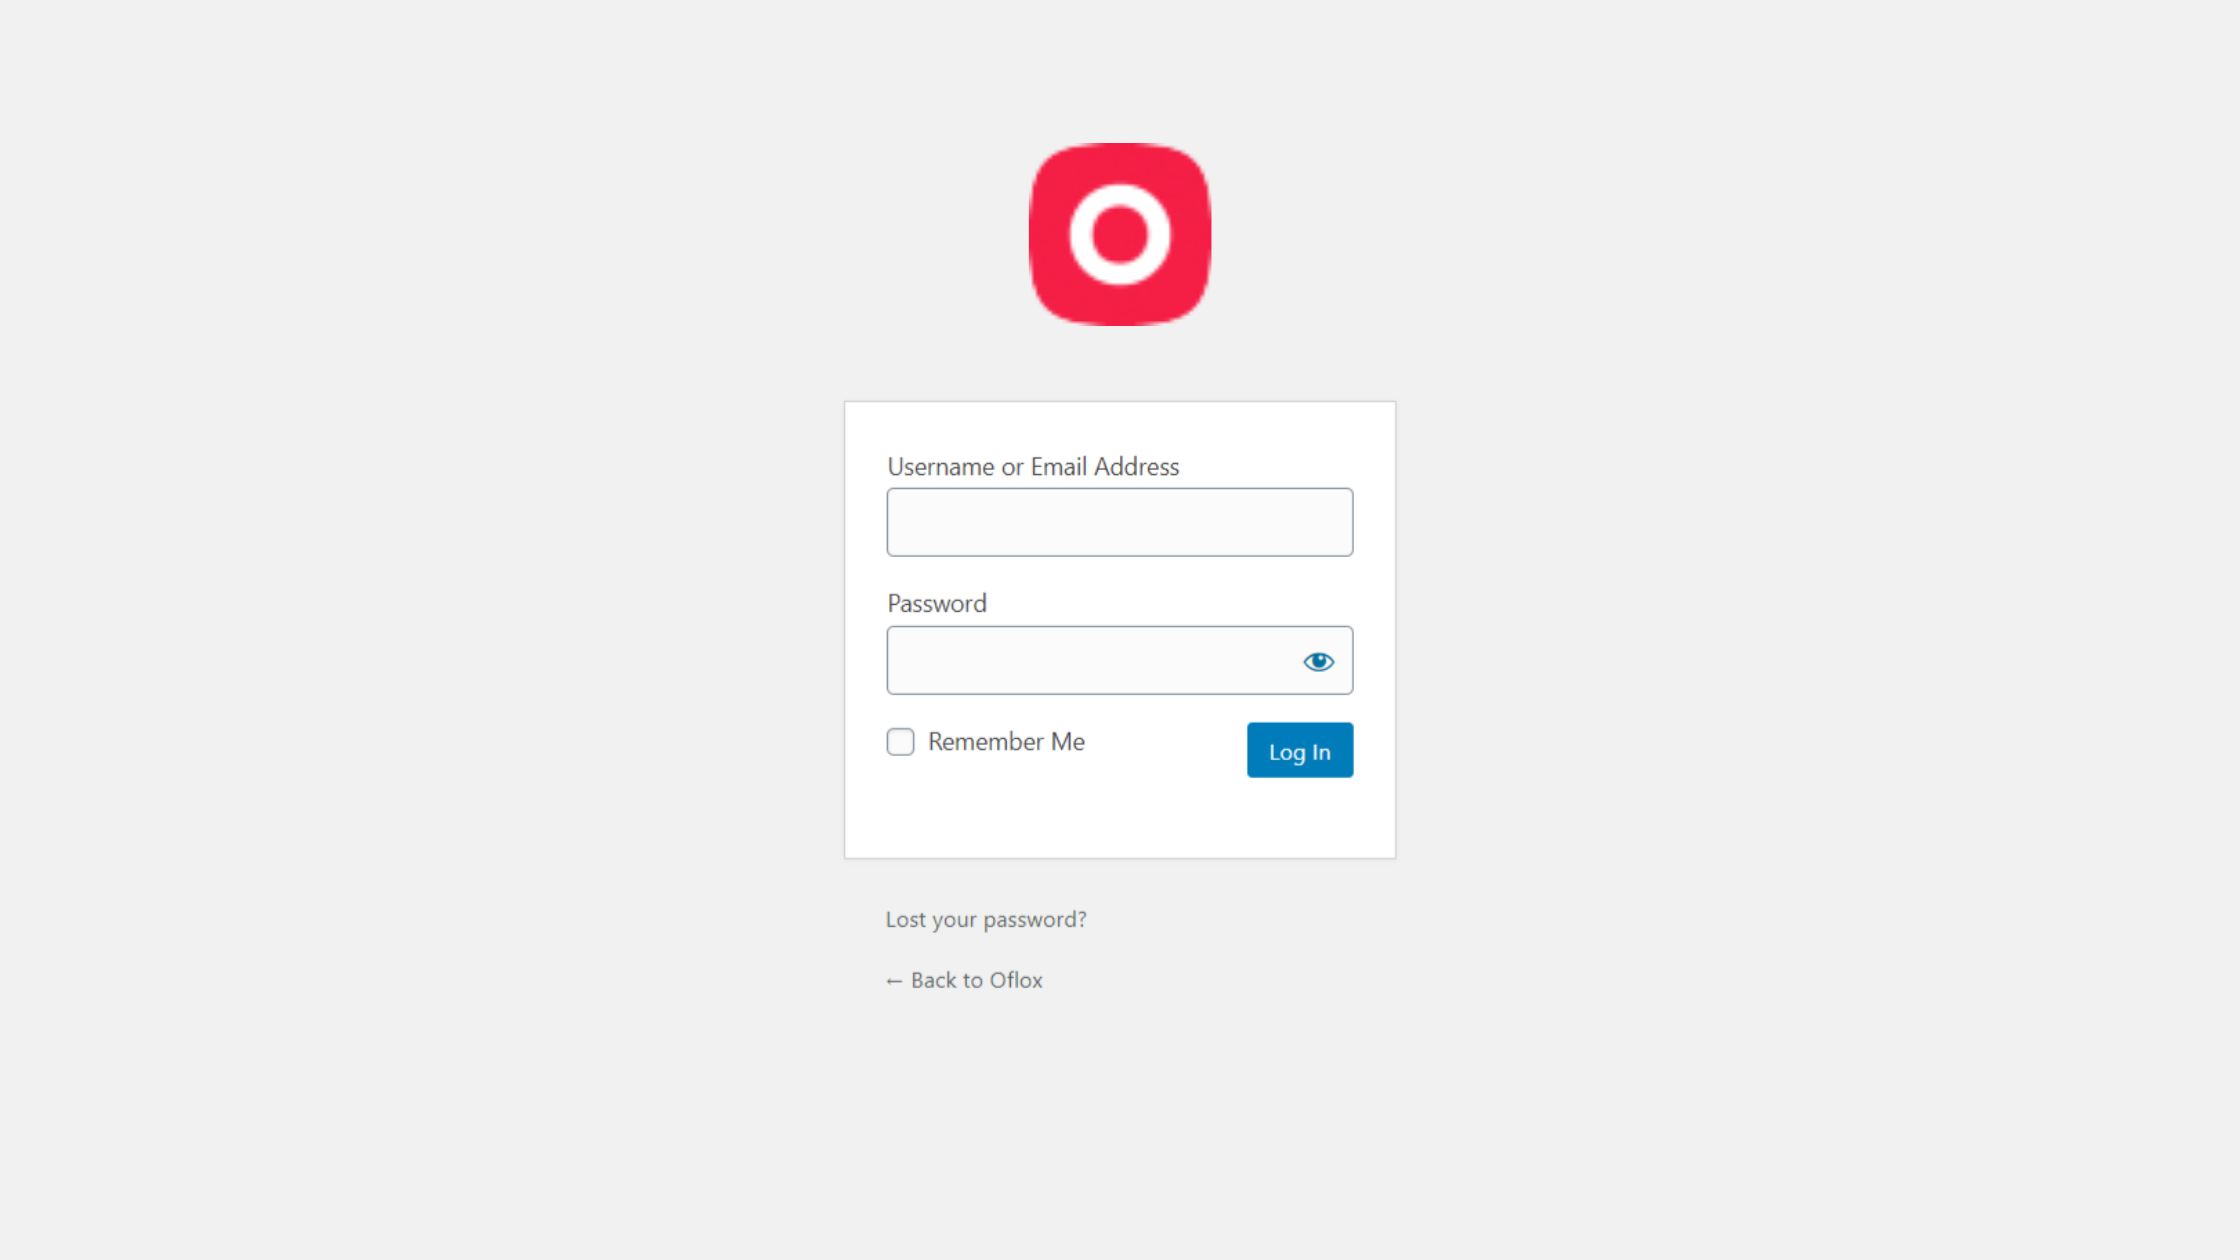
Now login to your blog and go to Dashboard >> Appearance >> Editor and add the above copied code in functions.php and save the changes. Now you can see here that its logo has changed.
2: Change Logo URL
In the login page of the WordPress blog, the logo contains a link to the wordpress site. That is, when you click on this logo, you will go to the site of wordpress. If you want to change it, then for this you follow simple steps.
For this, after logging into the blog, go to Appearance >> Editor and open functions.php. After that, add the below code.
function blhi_login_url() {
return 'https://www.oflox.com';
}
add_filter('login_headerurl', 'blhi_login_url');
In this code, add the URL of your site in place of https://www.oflox.com.
3. Change Login Page Background
If you want to change the background of your login page and add an image to it, then you can follow the simple steps given below. If you want, you can also set a color in the background of the image. Let’s know about this.
First of all, you go to Media >> Add new and upload your background image. After that copy the URL.
Now copy the code given below.
function blhi_bg_login_logo() {echo '<style type="text/css">
body {
background-image: url(https://www.oflox.com/blog/wp-content/uploads/2020/08/bg.png);
font-family: Arial,Verdana,sans-serif;
}
}</style>';
}
add_action('login_head', 'blhi_bg_login_logo');
In this code, instead of https://www.oflox.com/blog/wp-content/uploads/2020/08/bg.png you should replace the URL of your background image.

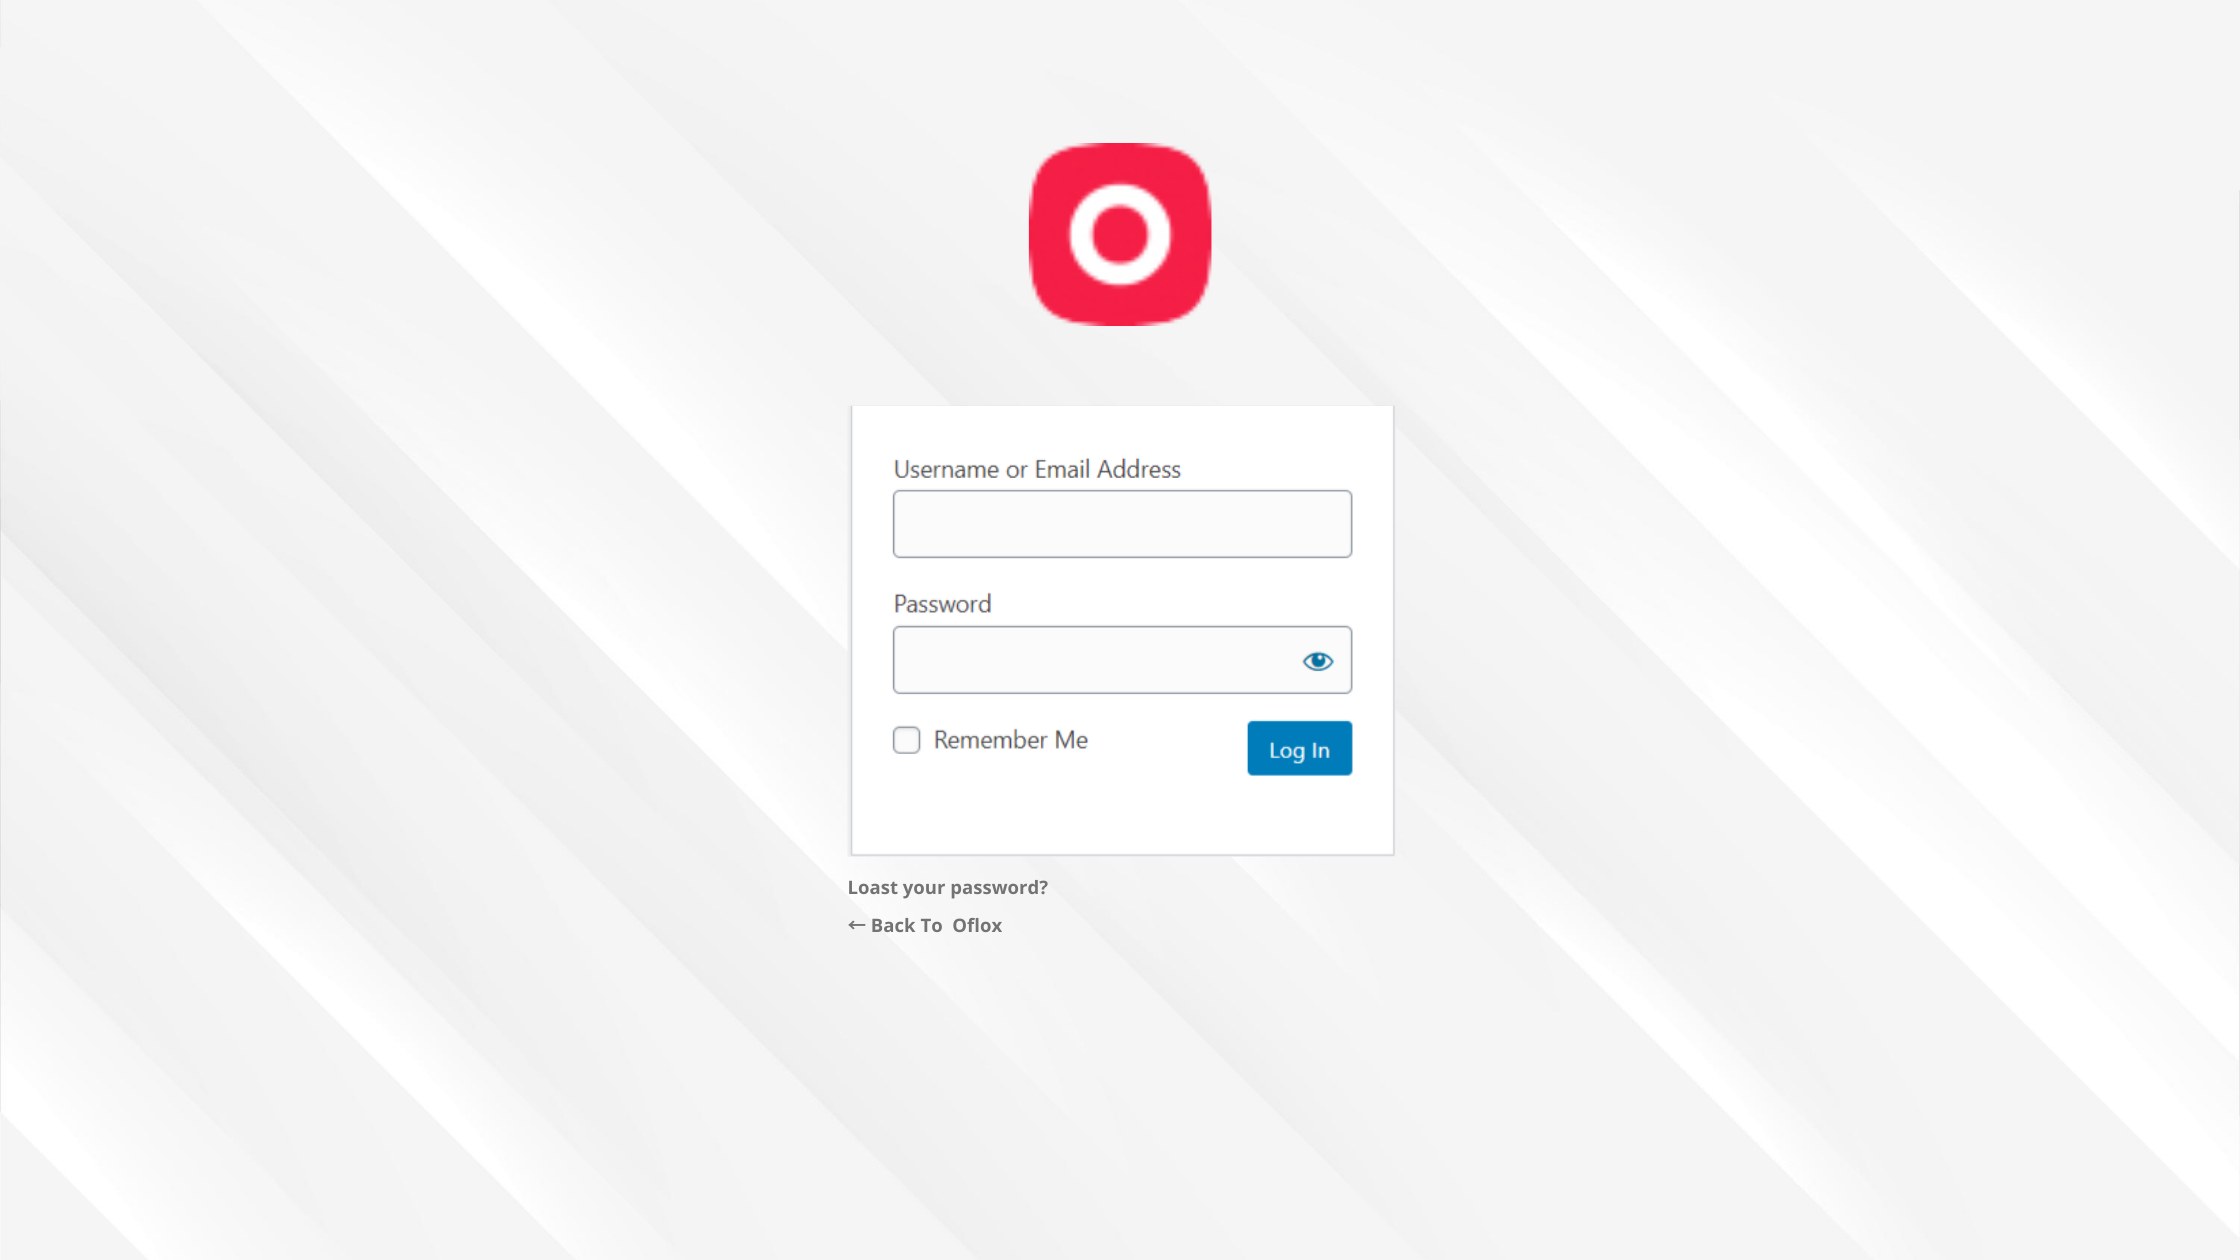
Now you have to add this code to your theme’s functions.php and make Save Changes. Now you can see the new look of your login page.
4: Add Custom CSS
If you know how to design with CSS, then you can customize it according to your own by adding css to the login page. For this, you can also create a css file separately or add css to the direct head as well. Let us tell you below.
You have to copy the below code and add your theme to functions.php file.
function blhi_login_css() {
echo '<style type="text/css">
/* Add a few changes to the color and style of form itself */
.login label {
color: #454545;
display: block;
margin-bottom: 1em;
font-weight: bold;
}

.login form .input {
font-weight: normal;
}

.login #backtoblog a, .login #nav a {
color: #4da28f;
}

.wp-core-ui .button-primary {
background: #4da28f;
}
</style>';
}

add_action('login_head', 'blhi_login_css');
In this you can add your css code under <style type = “text / css”> and </style>. It already has some css, which customize the login form. You can also change it according to your own.
5. Add Custom Link in Login Page
If you want to add any of your important links below the form in your login page, then you can add it. For this, you have to take help of very simple codes. So now we know about it.
Copy the code given below and then add it to your theme’s functions.php file.
function blhi_custom_link() {
?><p style="text-align: center; margin-top: 1em;">
<a style="color: #efefef; text-decoration: none;" href="https://www.oflox.com">Contact Us</a>
</p><?php
}
add_action('login_footer','blhi_custom_link');

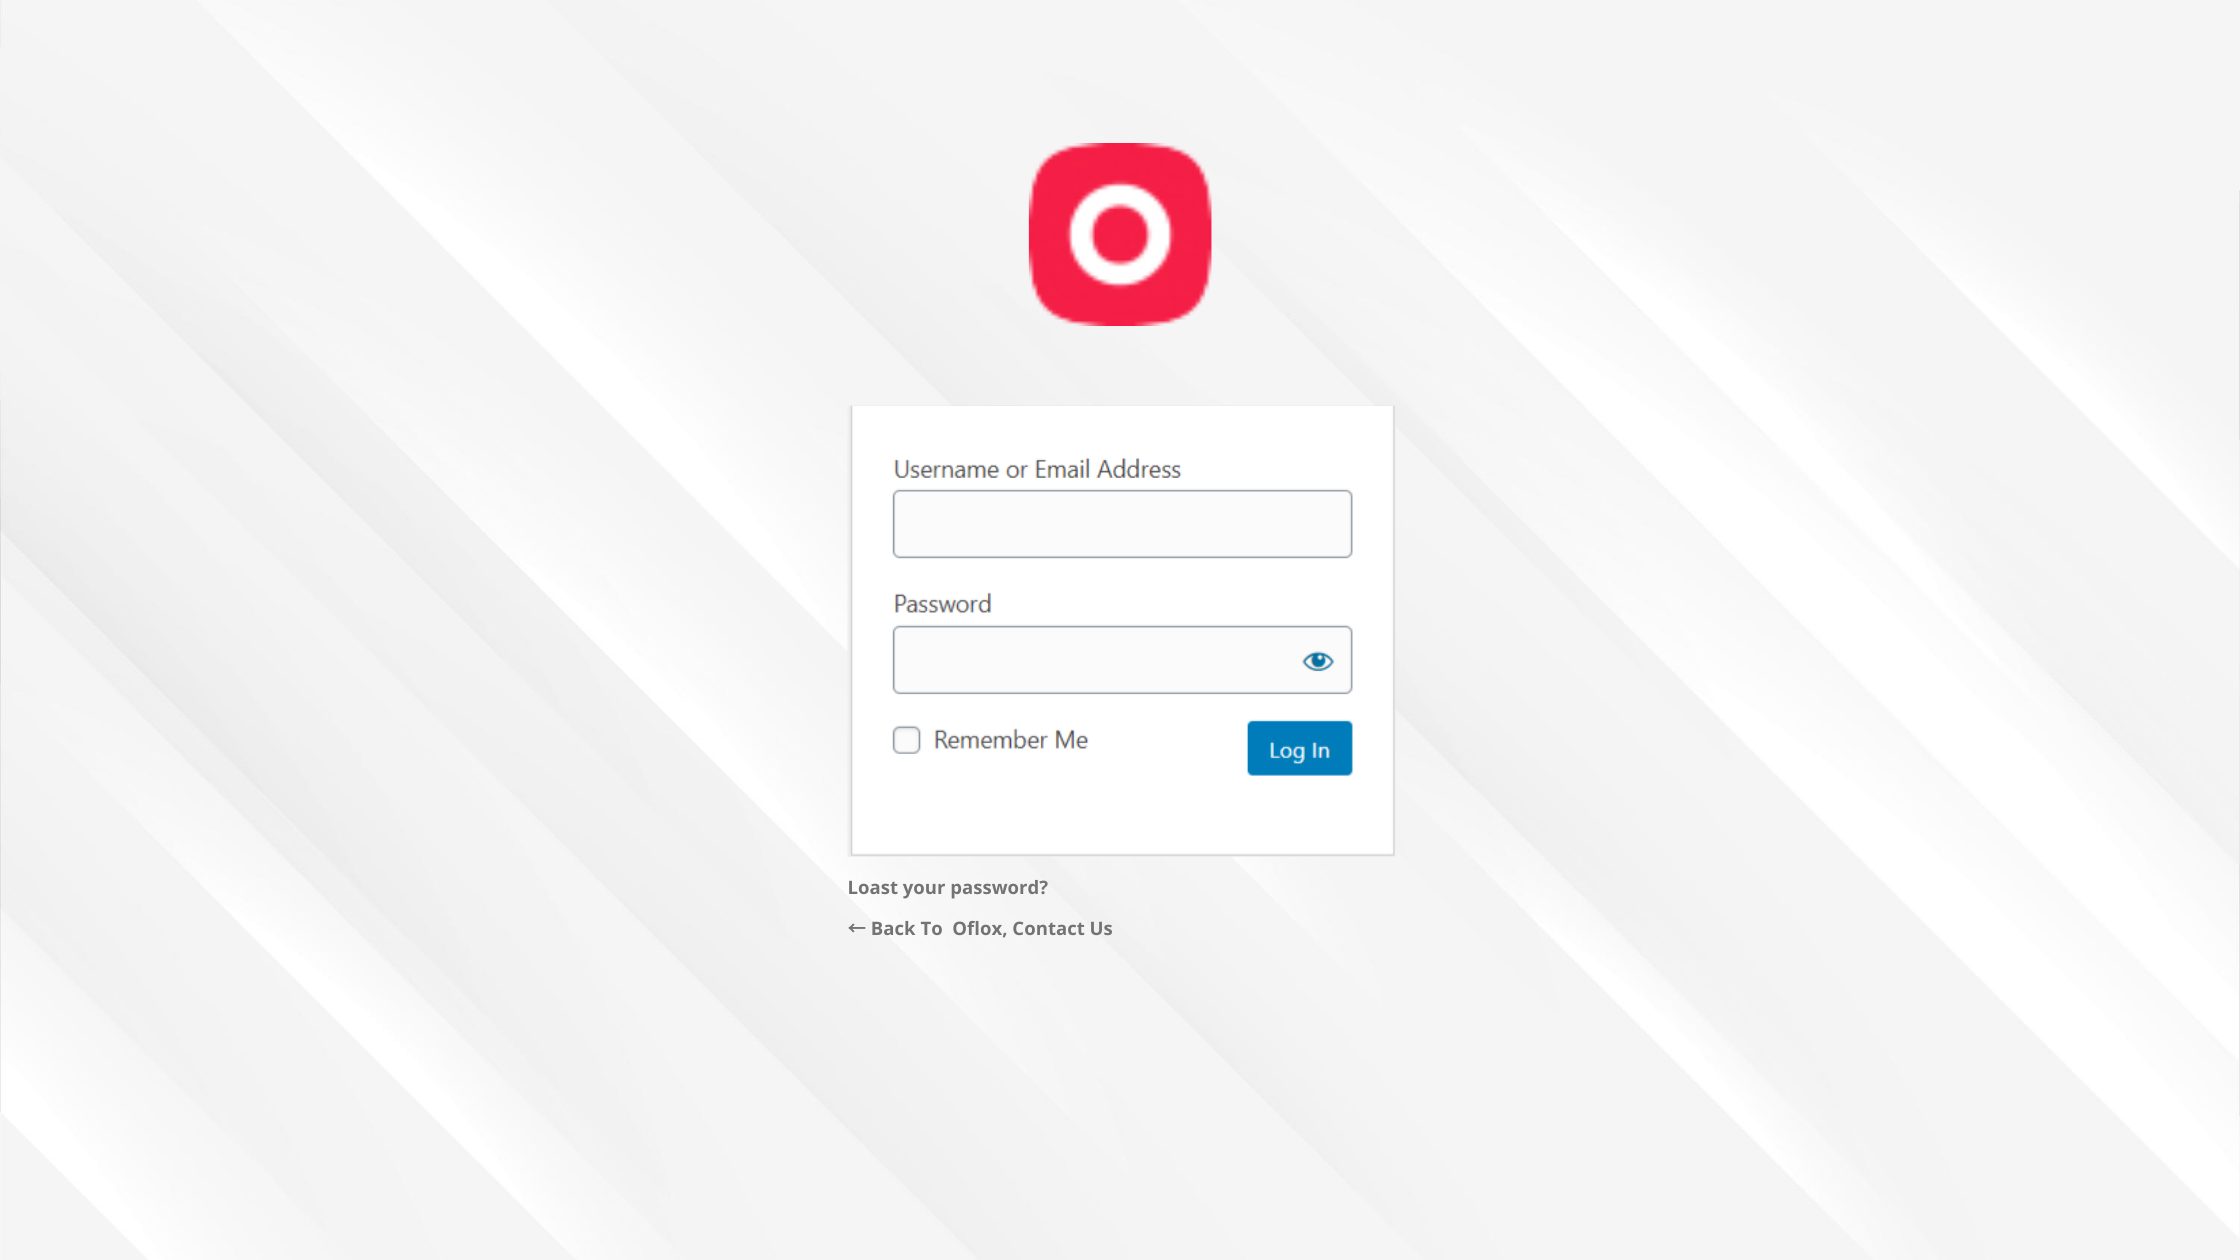
In this code you can add a link to your blog instead of https://www.oflox.com. And you can also customize its text.
So friends, I hope that you will miss life now how to Customize WordPress Login Page Without Plugin. If you still have any questions and suggestions, you can tell us in the comment box below.
Thank you! This is Super! I hardly comment on any blog but when I do I mean it!