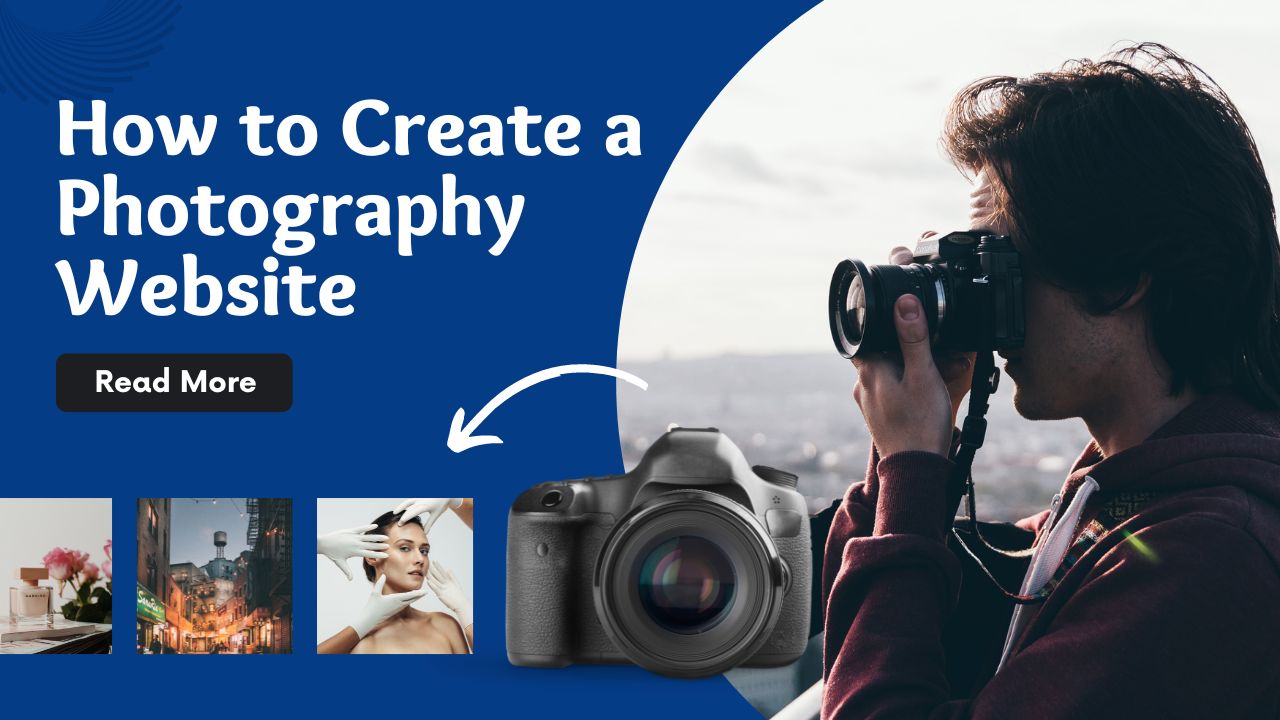
In this article, I am going to tell you How to Create a Photography Website? so if you want to know about it, then keep reading this article. Because I am going to give you complete information about it, so let’s start.
Looking for a limitless internet platform to display your work? You may quickly construct a photography website by following these ten simple steps.
Despite their widespread use, social media sites are not the greatest place to present your work online. You may display your photos precisely how you want, with no restrictions on size, quality, or design, by building a photography website. Additionally, it will enable you to reach a larger audience and attract the interest of new customers.
Using a reputable website builder, you may create a stunning online gallery of your own using your photographer’s sense of layout and style. This manual will take you from the initial phases of inspiration to creating and launching your photography website.
Today’s article focuses on the same,i.e, “How to Create a Photography Website”. The articles entail each bit of information necessary for you to know.
Let’s get started!
Table of Contents
How to Create a Photography Website?
Firstly, remember that the steps mentioned are independent of the website builder you’re choosing to make your photography website. You can simply choose any from the below-mentioned site and proceed by following the steps below to make a fully functional persuasive website.
The following steps will help you make a photography website that reflects your individual style and wows visitors:
1. Set Your Goals
Before making this online artwork, be sure to concentrate on precise objectives, just like any skilled photographer would. When you first launch your website builder, consider why you want to create a photography website. Are you trying to get more customers? Showcase your most recent works of photography. a little of each? Before you begin, keep this in mind as it will guide your decision over which photographs to select and how to best arrange them for your website.
The majority of the time, photographers will use the same site to showcase the many styles of photography they use. That is OK and even recommended as long as you distinguish clearly between the various themes. Make sure to make several albums, one for each shown type, such as weddings, portraiture, street photography, etc.
2. Use greatest pictures
Send your best photographs our way. It’s time to select the photos for your photography website now that you’ve chosen the collections of works to show there.
It’s critical to remember that your website serves a different purpose from your Instagram account. To increase engagement, you don’t want to upload every single photo you shoot. On the alternative, the greatest, most appropriate images from each category should be the only ones that are displayed on your professional photography website.
Simply put, prioritize quality over quantity. Our advice is to limit the number of images per gallery to 20–30. Instead of “overfeeding” your audience, it is ideal to leave them wanting more.
3. Create your layout
Your site’s layout serves as its visual framework. You want your greatest photographs to stand out on your photography website so that people will notice them.
The first technique to achieve this is by choosing a sophisticated color palette with few tones. Use black (“dark,” in web design parlance) or white (“clean”); these colors will make your photographs pop.
Next, think about the kind of display you want to create. It should be compatible with the primary picture format you use: grids for horizontal photos and lengthy scrolling for vertical portraits. Select the ideal layout for your photographic portfolio for assistance.
4. Select the ideal template
You may quickly create a stunning portfolio with website templates for photographers that have been expertly created. You’ll discover that they already contain the majority of the sections and tools you require because they were designed with the particular requirements of each photographic genre in mind. These templates are available for free and may be fully customized from the header to the footer, allowing you to tell your narrative on your website from a totally original point of view.
Even if you intend to build a photography website from scratch, it is an excellent idea to browse through the top photography website templates for ideas. A wonderful method to come up with new ideas for how to present your work online is to look at the online presentations that other photographers use.
5. Create relevant pages
It’s time to plan the layout of your photography website, including which pages to include and where to put them. Naturally, you can change your plan at any time using the Wix Editor, but try to be as specific as you can right away to give your website a solid framework.
You don’t need a lot of pages if you’re a photographer. Instead, concentrate on these requirements:
This is how you advertise who you are and what you do. The biggest error I see photographers doing is leaving out the written material. Although your images should be the major focus, you should also provide a storyline to your visitors. Use terms to indicate that this is a photography website, not a travel agency or blogger website, for instance, if you have a stunning landscape shot on your homepage.
So that visitors can clearly understand who you are, what you do, and where you are located, make sure that your photographic logo, name, and area of specialization are prominently shown on your site.
Additionally, you should create a navigation menu for your website so that users can easily move between pages and get the information they’re looking for. Depending on the design of your website, you can decide to utilize a collapsing menu bar to make more room for pictures instead of placing a navigation bar at the top of your page.
Here are some further hints on how to make your photography website’s homepage stand out.
This is where visitors will find your photographs on your website. The online tool you use to develop it using must be carefully chosen because it is where the magic happens. Because it allows you complete control over your photos and how you want to display them.
In essence, you may adjust the quality and clarity of each image to ensure that your visitors will view them just as you intended. Additionally, a variety of attractive layouts, including completely configurable panorama and grid options similar to Instagram, are available. A bunch of websites to make your photography website the best is mentioned at the end.
Further, there are a number of tools for promoting and enhancing your photos. To promote your skills on social media, you may either include a sharing button or right-click protection to prevent downloads. You can upload text and videos to the Gallery as well, giving your finished product more diversity.
People learn about you on your “About Me” page. Although it doesn’t imply that you must recount the occasion when your great-uncle from somewhere gave you your first professional camera, it is a possibility. Your visitors will be considerably more interested in your artistic and personal philosophies, your artistic process, and your sources of inspiration.
Choose the first person over the third since it creates a more personal atmosphere and encourages readers to get in touch with you. Of course, don’t forget to attach a photo of yourself and, if applicable, a resume. When you build a photography website, you must absolutely showcase your identity and enhance your own brand.
You most likely work on commissions a lot, like the majority of photographers. When someone sees the job you’ve done for past clients, they frequently feel more confident. Don’t forget to include and showcase these works on your photography website (Don’t forget to take your clients’ consent).
This simply means creating a gallery. There are several tools available for that. You can construct standalone album sites for each of your clients using these free apps. They will discover the images you took there presented in an exquisite layout and tagged with your information.
Provide your basic contact details so that potential clients can reach you. You can (and should) add information like your name, email address, and phone number to the footer of your website, but you can also make a specific contact page so that users won’t miss this crucial information. You should think about adding a contact form to your website because it will enable users to contact you directly from your page.
The addition of a bookings sections is another excellent idea, but you should first check to see if the website you’re utilizing to create your photography website has any offers. Numerous small company owners have already benefited greatly from this handy app. It allows you to show up your most recent calendar so that prospective customers can see when you’re available for a shoot. Additionally, you can allow them to pay and book online. Your hands are free to do what you do best, which is shoot great images because you won’t have to answer any more calls or emails.
These pages are an optional part, but adding these can definitely enhance your photography website:
Blog: Inform readers of more of your initiatives, methods, and news. It will assist you in creating a devoted community and improve the SEO of your website. To create a photography blog, you don’t have to be a writer. Instead, place a picture in the middle and describe what we’re seeing in a few words. What tools did you employ? When you took the shot, how did you feel? What location did the photo have?
Tip: Read our article on “How to do blogging?”
- Online store: Take things a step further and use an online store to monetize your photos. Again check with your app website whether or not it offers to make an online store. You can sell pictures online directly from your own photography website while keeping track of all of your orders in one location.
- Testimonials: Showcase the encouraging feedback offered by your satisfied customers. Allow customer reviews to speak for you.
6. Use Social Media
By allowing users to post your material on Instagram and other social media platforms, you can demonstrate to site visitors how sociable you are. With Instagram alone having more than 500 million daily users, social media is the fastest and most affordable way to spread your reputation and draw in new customers.
First, check to see if your website has a social bar with a link to each of your profiles. On any page, it shouldn’t take more than a few seconds for your viewers to locate it. We advise placing the bar either as an anchor on the side of your website, in the header, menu, or footer.
The sharing feature should then be enabled. Nothing improves one’s reputation like a strong image that is shared and liked on social media. Last but not least, remember to add the domain URL of your professional website to the top of each of your social media pages to encourage your followers to visit it.
7. Boost the SEO for your photography website
Photographers are undoubtedly far more visually inclined than writers. That’s wonderful for capturing the moment for a photo, but it can be difficult when you need to improve the SEO (search engine optimization) for your photography website. Whether we like it or not, search engines only have the ability to interpret the text; they cannot “see” photos. Therefore, you’ll need to write blogs if you want your website to be seen online and ultimately bring in more traffic.
Describe each image in the Title and Description columns to start off your SEO campaign. It’s called alt text and uses straightforward language to describe what is shown in the image. Try to be as genuine as you can; stay away from fake terminology.
Your photographs will be easier to find in Google Images because there is less competition there than on the main search results page.
Are the descriptions for your photographs complete? With the help of our comprehensive SEO guide for photographers, learn what steps you should take next.
8. Optimize for mobile viewing
Tablets and smartphones are dominating. Moreover, half of all web traffic from 2020 is generated by mobile devices. Making sure that their web portfolio will be accessible on mobile devices is one of the main issues that photographers confront. Remember to optimize your design appropriately.
Nearly all cloud-based web creation services automatically adjust graphics to fit any screen. With regard to the other components of your website, you can quickly make your photography website mobile-friendly by only dragging and dropping your components.
9. Ask for feedback
Make a call to your best friend before you post. Not to debate your thoughts on the most recent Marvel series, but rather to get a second perspective on your recently revamped photography website.
Being objective while discussing something you made yourself is challenging, especially the first time. Getting input from friends, relatives, or coworkers will enable you to improve the navigation, address any design flaws, and get rid of any stray typos.
10. Update your website regularly
To keep your website’s information current, make sure to update it frequently. Make sure that the images on your website are updated frequently to keep your fans interested. First of all, this shows them that you are still creating top-notch work. Second, being updated has come to be equated with trustworthiness in today’s society.
Top 5 website builder
We’ve investigated and evaluated a large number of website builders, so we can confidently state that these 5 are the greatest of all website builders available but yeah it may vary, it is our personal opinion.
1. Wix
Best Website Builder Overall
Pros
- Free offer (ideal for smaller projects)
- User-friendly for beginners and incredibly simple
- Individualized SEO assistance for your website
Cons
- The moment a site is online, you cannot change the template.
- A slow response from the server’s variety
- of choices might be bewildering.
Pricing: Nothing to $59 per month.
2. Squarespace
Best for Originality and Top-Notch Designs
Pros
- Outstanding built-in features and UX
- Carefully chosen trendy designs
- Ideal for portfolios of creative work
Cons
- Site performance may be faster.
- Less customization is offered
- few integrations with outside parties
Pricing: $16 to $49 per month
3. GoDaddy
Best for Quick Website Publishing and Creation
Pros
- The fastest method for creating a website
- Change templates whenever you want
- A component of a broader marketing package
Cons
- Appropriate only for simple websites
- On the cheapest subscription, there are no SEO tools.
- More limiting block components
Pricing: $9.99 to $29.99 per month
4. Shopify
Best for Selling products
Pros
- A powerful collection of sales features
- Good for integrating many channels
- Massive app store
Cons
- Not the simplest builder to work with
- Limited customizability
- Depending on the payment method, transaction fees are levied which vary greatly
Pricing: $29 to $299 per month
5. Weebly
Favorable for its Generous Free Plan
Pros
- Large app store for website development
- Give staff employees access
- built-in SEO instructions
Cons
- Templates don’t always inspire me.
- Ineffective for multilingual websites
- Restricted customization options
Pricing: Nothing to $29 per month.
Conclusion:)
To conclude, this comprehensive guide will definitely help you to make an appealing, interactive, and traffic-driving photography website. All you have to do is to adhere to the steps. Further while choosing the website builder consider the pros and cons mentioned above.
But yeah before purchasing any website builder plans do research more on their website, as the plans and features of those get updated regularly. The top 5 picks of mine I have already mentioned. If you want to choose another you can definitely go thoroughly with the features and make a wise choice. Now, you have everything to make a photography website – So buck up and build it!
Read also:)
- How to Generate Leads from Website: A-to-Z Guide for Beginners!
- 15+ Best Website to Buy Source Code Online: A-to-Z Guide!
- 5+ Best SEO Strategies for New Websites: The Beginner’s Guide!
So hope you liked this article on How to Create a Photography Website? And if you still have any questions or suggestions related to this, then you can tell us in the comment box below. And thank you so much for reading this article.