This complete guide will explain What Is a Staging Website, how it works, why it is important, how to create one, its major features, benefits, challenges, popular tools, real-world examples, common mistakes, expert tips, and future trends.
Making changes directly to a live website may look quick and convenient, but it can create serious problems. A small coding error, incompatible plugin, incorrect database setting, or failed software update can break important pages and affect the overall user experience.
For a business website or online store, such problems can interrupt sales, enquiries, payments, user registrations, and other essential operations. They may also affect website security, performance, and search engine visibility.
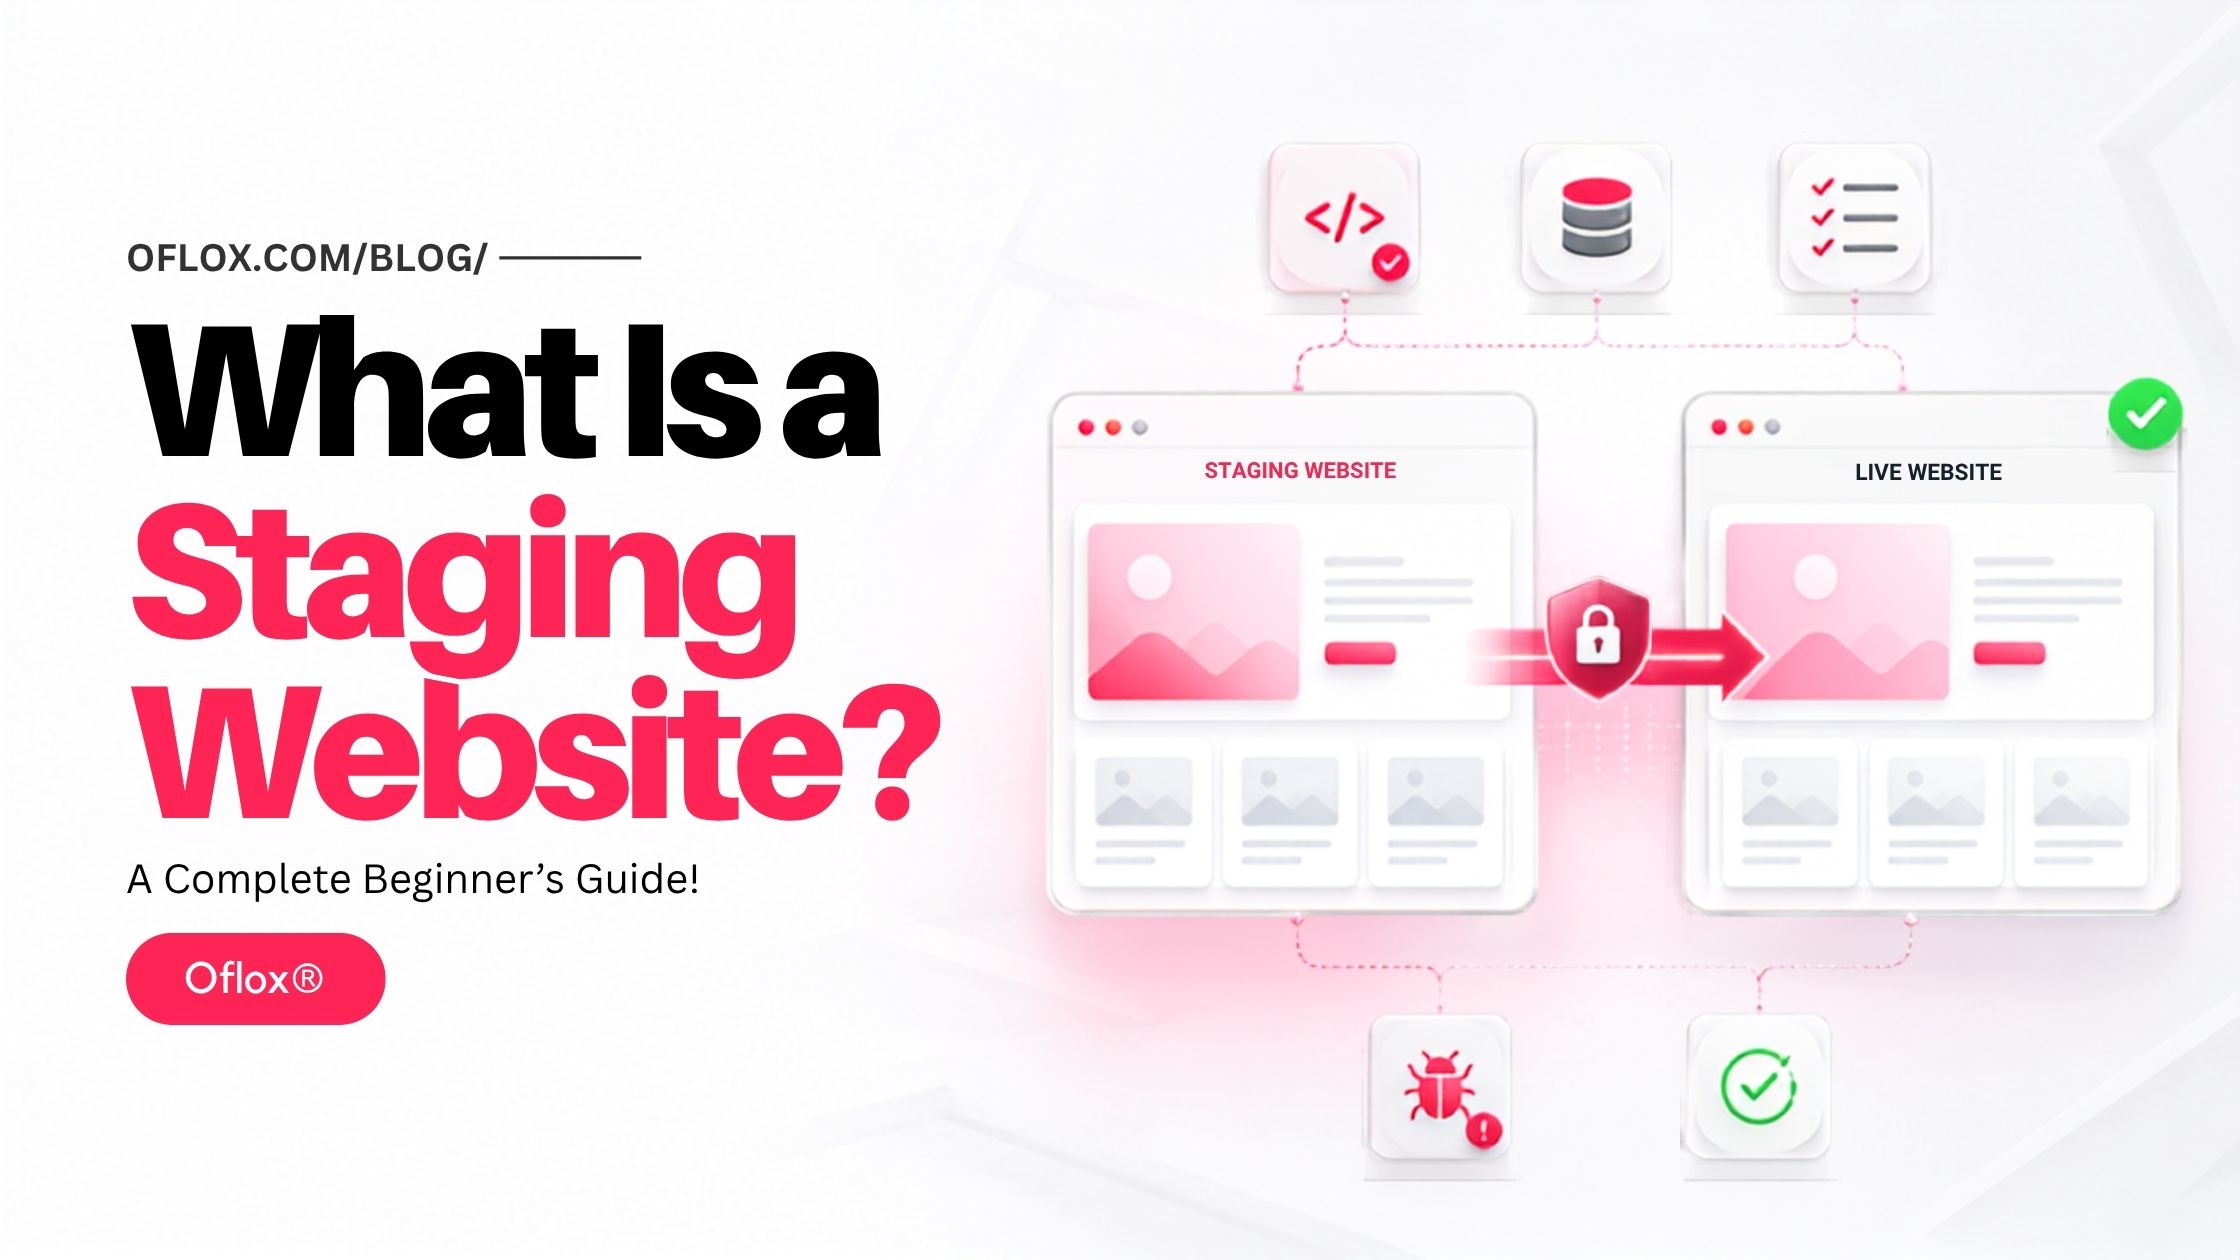
A staging website provides a safe and private environment where developers, designers, marketers, and website owners can test changes before publishing them on the live website.
It usually works as a separate copy of the production website. Any update can be created, tested, corrected, and approved on staging without affecting real visitors. Once everything works properly, the approved changes can be carefully moved to the live website.
Whether you are a website owner, blogger, developer, designer, SEO professional, digital marketer, agency, startup founder, or eCommerce business owner, understanding website staging can help you reduce technical risks and manage website updates more confidently.
Let’s explore it together.
Table of Contents
What Is a Staging Website?
A staging website is a private copy of a live website used to test changes, updates, designs, content, and features before making them publicly available.
It acts as a final testing environment between development and production.
The live website that visitors use is commonly known as the production website. The staging version is kept separately so that experiments and technical changes do not affect real visitors.
For example, suppose your live website is:
https://www.example.comIts staging version might be:
https://staging.example.comor:
https://example.com/stagingHowever, using a separate subdomain is generally more organised and easier to manage.
A staging environment may contain copies of the live website’s:
- Website files
- Source code
- Themes and plugins
- Database
- Images and media
- Pages and blog posts
- Products and categories
- Website settings
- User interface
- Server configuration
The goal is to make staging behave as closely as possible to production. If both environments are similar, developers can identify problems that may otherwise appear only after deployment.
What Is the Difference Between Development, Staging, and Production?
Development, staging, and production are different website environments used during the software development and deployment process.
| Environment | Primary Purpose | Typical Users | Publicly Accessible | Type of Data |
|---|---|---|---|---|
| Local Development | Writing and experimenting with code | Developers | No | Dummy or local data |
| Testing or QA | Functional and automated testing | Developers and QA teams | Usually no | Test data |
| Staging | Final testing before release | Developers, clients and stakeholders | Restricted | Sanitised copy of production data |
| Production | Serving the actual website | Real visitors and customers | Yes | Live data |
1. Development Environment
A development environment is where developers write, edit, and experiment with code.
It may run locally on a developer’s computer or on a private development server. It does not always match the configuration of the live server.
Developers may use unfinished features, debugging tools, sample content, and temporary databases in this environment.
2. Testing or QA Environment
A testing environment is primarily used by quality assurance teams to find technical and functional problems.
Automated tests, browser compatibility tests, security scans, and performance checks may be performed here.
Some smaller projects combine development and testing into one environment.
3. Staging Environment
Staging is the final checkpoint before production.
It should resemble the live website as closely as possible, including the PHP version, database technology, server settings, caching system, content structure, and third-party integrations.
The main purpose of staging is to answer one question:
Is this version ready to be shown to real users?
4. Production Environment
Production is the live website used by actual visitors.
All changes published in production can directly affect customers, search rankings, business operations, enquiries, orders, and revenue.
Therefore, production should be stable, secure, monitored, and changed only through a controlled deployment process.
Why Is a Staging Website Important?
Modern websites are built using many connected technologies.
A WordPress website may include a theme, page builder, plugins, custom PHP code, JavaScript, APIs, payment gateways, tracking codes, caching systems, and a database.
Changing one component can unexpectedly affect another.
For example:
- A plugin update may conflict with the theme.
- A CSS change may break the mobile menu.
- A PHP upgrade may create compatibility errors.
- A checkout modification may affect online payments.
- A new tracking script may reduce page speed.
- A database migration may remove or duplicate records.
- A redesigned URL structure may cause broken links.
- A security rule may block legitimate users.
Staging helps teams discover these issues before customers do.
It is particularly important for websites that receive regular traffic, generate leads, process payments, publish large amounts of content, or depend on organic search visibility.
Without staging, every technical update becomes an experiment performed on the public website.
History and Background of Website Staging
The concept of staging developed from traditional software engineering and release management practices.
In the early years of the web, many websites were simple collections of static HTML files. Developers could edit a file on their computer and upload it directly to a web server.
As websites became more dynamic, this method became dangerous.
Content management systems, databases, user accounts, payment systems, and third-party services made websites more complex. Development teams began separating their working environments from the live environment.
A common workflow emerged:
Development → Testing → Staging → Production
This structure allowed teams to build features privately, test them, perform a final review in an environment similar to production, and then release them to users.
Later, cloud hosting, Git-based development, containerisation, continuous integration, and continuous deployment made staging environments faster to create and easier to automate.
Today, staging is used not only by large software companies but also by:
- Bloggers
- WordPress administrators
- Digital marketing agencies
- eCommerce businesses
- SaaS companies
- Freelance developers
- Educational institutions
- Government portals
- News websites
- Local business websites
Many managed hosting providers now include one-click staging tools, making the technology accessible even to non-technical website owners.
How Does a Staging Website Work?
A staging website works by creating a separate copy of the production website in an isolated environment.
The general workflow is:
- Copy the live website.
- Place the copy on a private URL or server.
- Restrict public and search engine access.
- Make the required changes.
- Test the complete website.
- Fix all detected problems.
- Take a fresh production backup.
- Deploy approved changes.
- Test the live website again.
- Monitor the website after deployment.
Changes made on staging do not automatically affect production unless a deployment or synchronisation process has been configured.
This separation creates a safety layer.
Example of the Staging Workflow:
Suppose a company wants to redesign its homepage.
The team first copies the live website to staging. The designer then creates the new layout and the developer adds the required functionality.
The marketing team reviews the text, SEO team checks headings and metadata, and QA team tests the design on different devices.
After approval, only the required changes are transferred to production.
The existing homepage remains fully functional during the complete development and review process.
How to Create and Test a Staging Website?
Creating and using staging requires more than simply copying files. The environment must be protected, updated, tested, and deployed carefully.
1. Define the Purpose of Staging
Before creating the environment, decide what you want to test.
The purpose may include:
- Updating WordPress core
- Installing a new plugin
- Changing the website theme
- Redesigning important pages
- Adding custom functionality
- Upgrading PHP
- Testing a payment gateway
- Migrating the website
- Improving website speed
- Changing the URL structure
- Reviewing new content
- Testing security configurations
A clearly defined purpose helps the team decide what needs to be copied and tested.
2. Take a Complete Backup
Create a full backup of the live website before cloning or modifying anything.
The backup should include:
- Website files
- Database
- Uploaded media
- Configuration files
- Email-related settings, if relevant
- Server rules
- SSL and DNS information
- Custom scripts
A staging website reduces risk, but it does not replace a backup.
Backups help you restore the production website if an unexpected problem occurs while creating staging or deploying changes.
3. Choose a Staging Method
You can create a staging website using:
- A hosting provider’s built-in staging feature
- cPanel WP Toolkit
- Softaculous
- A WordPress staging plugin
- A separate subdomain
- A separate server
- Cloud infrastructure
- Git-based deployment
- Docker containers
- A manual file and database copy
Beginners generally find hosting-based one-click staging easier. Developers may prefer Git, containers, or automated pipelines because these provide more control.
4. Create a Private Staging URL
A staging environment is commonly placed on a subdomain such as:
https://staging.example.comOther possible structures include:
- https://test.example.com
- https://preview.example.com
- https://beta.example.com
- https://dev.example.com
Avoid choosing a URL that normal users may confuse with the production website.
Install a valid SSL certificate so that the environment can be tested over HTTPS.
5. Copy the Website Files
Copy all required application files to the staging environment.
For WordPress, this may include:
- WordPress core files
- Themes
- Plugins
- Uploads
- .htaccess
- wp-config.php
- Custom PHP files
- JavaScript and CSS assets
Configuration files must be adjusted carefully. Staging should use its own database credentials, URLs, API keys, caching rules, and environment variables.
6. Copy and Configure the Database
Create a separate database for staging and import a copy of the production database.
Never connect staging directly to the live production database.
Update references to the production domain so that internal staging links point to the staging URL.
In WordPress, a safe search-and-replace process may be needed because some values are stored as serialised data. A tool that understands WordPress serialisation should be used instead of performing a careless database-wide text replacement.
7. Protect the Environment
A staging website should not be openly available on the internet.
Use one or more of the following controls:
- HTTP password protection
- VPN access
- IP allowlisting
- Application-level login
- Hosting access restriction
noindexmeta tag- X-Robots-Tag: noindex
- Removal from XML sitemaps
- Separate authentication credentials
Authentication is stronger than relying only on search engine instructions.
Google explains that a noindex directive must be visible to the crawler to work. If a URL is blocked only through robots.txt, Google may not see its noindex instruction. Therefore, staging protection should be planned carefully rather than relying on robots.txt alone. You can review Google’s official noindex documentation for implementation details.
8. Disable Real-World Actions
Staging should not accidentally send real emails, collect actual payments, create genuine orders, or trigger production webhooks.
Disable or sandbox:
- Payment gateways
- Transactional email services
- SMS notifications
- CRM submissions
- Accounting integrations
- Shipping APIs
- Marketing automation
- Live analytics
- Advertising pixels
- Push notifications
- Scheduled tasks
- Customer support tickets
- Third-party webhooks
Use test credentials wherever available.
For example, Razorpay, Stripe, PayPal, and similar payment providers usually offer sandbox or test modes.
9. Make the Required Changes
Once staging is ready, implement the planned updates.
Record every important change, including:
- Files modified
- Plugins installed
- Database changes
- Configuration updates
- New environment variables
- Pages redesigned
- Tracking scripts added
- Features removed
- Dependencies upgraded
Maintaining a proper change log makes deployment and troubleshooting easier.
10. Test the Website Thoroughly
Test staging as if you were a real visitor.
Check:
- Homepage
- Navigation menus
- Internal links
- Search
- Contact forms
- Login and registration
- Shopping cart
- Checkout
- Coupons
- Payment flow
- User dashboard
- Downloads
- Email notifications
- Images and videos
- Mobile responsiveness
- Browser compatibility
- Page speed
- Structured data
- Canonical tags
- Redirects
- Error pages
- Security settings
- Accessibility
Do not test only the newly modified page. A change can affect unrelated areas of the website.
11. Obtain Stakeholder Approval
Share the protected staging link with relevant decision-makers.
Depending on the project, approval may be required from:
- Client
- Project manager
- Website owner
- Marketing team
- SEO team
- Legal team
- Security team
- Quality assurance team
- Product manager
Collect feedback in an organised manner and complete all approved revisions before deployment.
12. Plan the Deployment
Decide what will be moved from staging to production.
Possible deployment approaches include:
- Deploying the complete staging website
- Uploading selected files
- Merging code through Git
- Importing specific database tables
- Recreating settings manually
- Running a database migration
- Using a hosting push-to-live feature
- Deploying through a CI/CD pipeline
For an active eCommerce website, pushing the entire staging database to production can overwrite recent orders, customer registrations, reviews, or stock changes.
Selective deployment is often safer.
13. Back Up Production Again
Take a fresh backup immediately before deployment.
The production website may have received new content, enquiries, orders, comments, or account updates since the staging copy was created.
A current backup provides a reliable rollback point.
14. Deploy During a Suitable Time
For major changes, choose a low-traffic period.
Inform team members about:
- Deployment time
- Expected duration
- Possible downtime
- Responsible developer
- Rollback method
- Verification process
Use maintenance mode only when necessary and keep it as short as possible.
15. Perform Post-Deployment Testing
After deployment, test the live website again.
Confirm that:
- Pages load correctly
- Forms submit successfully
- Payments work
- Emails are delivered
- Analytics records traffic
- Search engines can access intended pages
- Staging restrictions were not transferred
- Caches were cleared
- SSL works
- Redirects function properly
- No important content was overwritten
Continue monitoring error logs, traffic, conversions, uptime, and user feedback after release.
Major Features of a Good Staging Website
A properly configured staging environment normally includes the following features.
- Production-Like Configuration: The staging website should closely resemble the production environment in terms of server software, programming language version, database version, web server, caching system, file permissions, application settings, and dependencies. Greater differences between both environments can make testing results less reliable.
- Private Access: Only authorised developers, clients, testers, administrators, and team members should be able to access the staging environment.
- Isolated Database: The staging website should use a separate database so that testing activities cannot modify real customer records, orders, content, or business information.
- Safe Integrations: Third-party services, including payment gateways, email platforms, CRMs, SMS services, and external APIs, should use test credentials or remain disabled.
- Easy Synchronisation: A good staging system should provide a safe and controlled method for moving approved files, code, configurations, and database changes to production.
- Backup and Rollback: Before deployment, the system should allow the current production website to be backed up and quickly restored if anything goes wrong.
- Activity Tracking: Professional staging workflows should record who made or deployed a change, what was changed, when it was approved, and whether it passed the required tests.
- Automated Testing Support: Advanced staging systems may support unit testing, integration testing, end-to-end testing, visual regression testing, accessibility testing, security scanning, and performance testing.
- Separate Environment Variables: Database credentials, API keys, service URLs, email settings, debugging configurations, and other sensitive values should be configured separately for staging and production.
Benefits of Using a Staging Website
- Protects the Live Website: The biggest benefit of staging is that unfinished, untested, or broken changes remain separate from the live website and real users.
- Reduces Website Downtime: Teams can identify and resolve technical problems before deployment, reducing the risk of emergency maintenance and extended downtime.
- Improves Website Quality: Developers and QA teams get enough time to test website functionality, design, performance, accessibility, responsiveness, and security.
- Protects Business Revenue: Even a short checkout failure can result in lost sales for an eCommerce website. Staging allows the entire shopping and payment process to be tested safely.
- Supports Client Review: Agencies and freelancers can show the website to clients before publishing it. Clients can review layouts, text, colours, forms, and features without exposing unfinished work publicly.
- Makes Website Updates Safer: CMS, plugin, theme, framework, database, and server updates can be tested for compatibility before being applied to the live website.
- Supports Team Collaboration: Developers, designers, content writers, marketers, SEO professionals, QA testers, and clients can review the same working version and share feedback.
- Protects SEO Performance: Teams can inspect page titles, meta descriptions, canonical tags, redirects, heading structures, internal links, structured data, XML sitemaps, and indexing directives before deployment. SEO problems can therefore be corrected before they affect rankings.
- Enables Better Security Testing: Security rules, authentication changes, software patches, access controls, and firewall configurations can be tested without blocking real users.
- Provides Deployment Confidence: A properly tested release creates greater confidence because the team already understands how the changes behave in a production-like environment.
Challenges and Limitations of Staging Websites
Staging is valuable, but it is not automatically perfect.
- Staging May Not Match Production: Differences in server versions, configuration settings, caching systems, software dependencies, or traffic levels may produce different results. A feature that works on staging may still fail in production if both environments are not sufficiently similar.
- Production Data Changes Continuously: Active websites regularly receive new orders, user accounts, form submissions, comments, inventory updates, content, and membership records. Replacing the complete production database with an older staging database may erase these changes.
- Additional Cost: Some hosting providers offer staging only with premium plans. Using a separate server, cloud environment, or advanced deployment system may also increase infrastructure expenses.
- Additional Maintenance: A staging website requires software updates, security patches, storage, backups, access control, monitoring, and periodic cleaning.
- Privacy Risks: A copied production database may contain personal or confidential information. Sensitive data should be removed, masked, encrypted, or replaced with safe test information.
- Search Engine Indexing Risk: If staging remains publicly accessible, search engines may index its duplicate pages and display the staging domain in search results.
- Outgoing Email Problems: A staging website may accidentally send order confirmations, password resets, newsletters, contact-form notifications, or test messages to real users.
- Misleading Performance Results: A low-powered staging server may appear slower than production, while a staging website with minimal traffic may hide scalability problems that emerge under real-world load.
- Licensing Restrictions: Some premium plugins, themes, and software products limit the number of activated domains. Website owners should confirm whether their licence supports a staging environment.
- False Deployment Confidence: Passing a few basic tests does not guarantee a successful production release. Teams still need current backups, monitoring, rollback plans, complete testing, and post-deployment verification.
10+ Popular Tools for Creating a Staging Website
| Tool or Method | Best For | Main Advantage | Technical Level |
|---|---|---|---|
| Hosting Staging Tool | Beginners and businesses | One-click setup | Beginner |
| cPanel WP Toolkit | WordPress on cPanel | Convenient cloning | Beginner to Intermediate |
| Softaculous | Shared hosting users | Simple staging controls | Beginner |
| WP Staging | WordPress websites | Plugin-based cloning | Beginner |
| LocalWP | Local WordPress development | Easy local environment | Beginner to Intermediate |
| Git | Development teams | Version control | Intermediate |
| GitHub Actions | Automated deployment | Approval and deployment workflows | Intermediate to Advanced |
| Docker | Consistent environments | Reproducible configuration | Advanced |
| Kubernetes | Large applications | Scalable environment management | Advanced |
| Manual Subdomain | Custom websites | Full control | Intermediate to Advanced |
1. Hosting Provider Staging Tools
Many managed WordPress hosting providers offer built-in staging.
These tools commonly provide:
- One-click staging creation
- Password protection
- Database cloning
- Push-to-live functionality
- Backup integration
- Selective deployment
This is normally the easiest option for non-technical website owners.
2. cPanel WP Toolkit
WP Toolkit allows supported WordPress installations to be cloned to another subdomain or location.
It can be useful for websites hosted on a traditional cPanel server. However, available staging and synchronisation features may depend on the hosting provider and WP Toolkit edition.
3. Softaculous
Softaculous is widely available on shared hosting.
It can create a staging copy of supported applications and may allow changes to be pushed back to the live installation.
Always review the selected file and database options before deployment.
4. WordPress Staging Plugins
Plugins such as WP Staging can create a testing copy from the WordPress dashboard.
This approach can be convenient when the hosting plan does not include built-in staging.
Large websites may require more server resources and storage during cloning.
5. Git and GitHub Actions
Development teams often store website code in Git.
Changes can move through branches and environments before production deployment.
GitHub officially supports deployment environments, environment-specific secrets, branch restrictions, approval requirements, and deployment protection rules. These capabilities help teams build controlled release processes.
6. Docker
Docker packages an application and its dependencies into containers.
It helps developers maintain similar software versions and configurations across development, staging, and production.
7. Local Development Tools
Tools such as LocalWP, XAMPP, MAMP, and Docker Desktop allow websites to be tested locally.
A local copy is helpful during development, but it is not always a complete replacement for online staging because it may not match the real hosting environment.
Real-World Examples of Staging Websites
Here are some practical examples showing how staging websites are used to test updates, redesigns, migrations, and new functionality.
1. WordPress Plugin Update
A business website uses multiple WordPress plugins.
Before updating them, the administrator clones the live website to staging. The updates are installed and the administrator tests forms, page layouts, login, search, and mobile navigation.
One updated plugin creates a JavaScript conflict with the slider. The problem is discovered and corrected without affecting the public website.
2. eCommerce Checkout Redesign
An online store wants to simplify checkout.
The team builds the new checkout on staging and tests different devices, GST calculations, coupons, shipping areas, failed transactions, refunds, emails, and order creation.
After successful testing, the code is deployed without replacing the production order database.
3. Website Rebranding
A company changes its logo, colours, typography, and messaging.
The redesigned website remains on staging while management reviews every page. Once approved, the team schedules deployment and updates the required production assets.
4. PHP Version Upgrade
A WordPress website needs to move from an older PHP version to a supported version.
The upgrade is first performed on staging. Developers inspect error logs and identify an outdated custom plugin.
They repair the plugin before upgrading production.
5. SEO Migration
A company changes its website structure.
The SEO team uses staging to map old URLs to new ones, implement 301 redirects, review canonical tags, test structured data, update internal links, and create a new XML sitemap.
The migration is launched only after all major SEO checks pass.
6. SaaS Feature Release
A SaaS company builds a new user dashboard.
The staging environment connects to test services and sample accounts. QA engineers test permissions, billing rules, browser compatibility, security, and edge cases.
Approval rules prevent unreviewed code from reaching production.
Expert Tips for Managing a Staging Website
- Keep Staging Close to Production: Match important software versions, caching layers, environment variables, dependencies, server settings, and database configurations to improve testing accuracy.
- Use Version Control: Store code changes in Git so that releases can be reviewed, tracked, compared, reverted, and deployed consistently.
- Protect Staging With Authentication: Use server-level password protection, VPN access, IP restrictions, or application-level authentication. A
noindextag is helpful, but it should not be the only security measure. - Mask Sensitive Data: Replace real customer information—including names, email addresses, phone numbers, addresses, payment references, private messages, and authentication tokens—with safe test values.
- Use Test Payment Credentials: Test payment gateways through their sandbox or test mode. Never use live credentials unless a controlled real-transaction check is specifically required.
- Disable Outgoing Emails: Route staging emails to a test inbox or use an email-capturing service to prevent messages from reaching real customers.
- Create a Deployment Checklist: Maintain a checklist covering backups, testing, approval, deployment, cache clearing, monitoring, post-release verification, and rollback procedures.
- Avoid Full Database Replacement on Active Websites: Deploy only the required database schema, settings, or content changes when production continuously receives orders, registrations, comments, and other user data.
- Refresh Staging Periodically: An outdated staging environment may no longer represent production accurately. Refresh it before major work while protecting any unfinished staging changes.
- Test Rollback Procedures: A backup is useful only when the team knows how to restore it correctly and quickly. Test the rollback process before a critical deployment.
- Monitor the Website After Deployment: Check error logs, uptime, analytics, conversions, payment success rates, forms, website speed, and customer feedback after every major release.
Common Staging Website Mistakes
- Editing the Live Website by Accident: Production and staging dashboards may look almost identical. Use a visible staging label, different admin colour, warning banner, or environment badge to distinguish them.
- Leaving the Staging Website Public: An openly accessible staging website may expose unfinished content, software information, customer data, login pages, or security vulnerabilities.
- Allowing Search Engine Indexing: Protect staging with authentication and correctly implement
noindex. Do not include staging URLs in public XML sitemaps, navigation menus, canonical tags, or internal links. - Using the Production Database: Connecting staging to the live database can accidentally modify real orders, customer accounts, content, inventory, users, and website settings.
- Sending Emails to Real Customers: Test order confirmations, password resets, newsletters, and form notifications may reach real users if outgoing email delivery is not controlled.
- Using Live API Keys: Live credentials for payment gateways, CRMs, SMS platforms, accounting systems, shipping services, and notifications may trigger real actions or transactions.
- Overwriting New Production Data: Pushing the complete staging database to production may remove orders, registrations, enquiries, comments, and other records created after the staging copy was made.
- Forgetting Mobile Testing: A design or feature that works perfectly on desktop may fail on smartphones or tablets. Test important pages across different screen sizes and devices.
- Ignoring Website Cache: Old browser, plugin, server, or CDN cache files may hide recent changes and produce inaccurate testing results.
- Skipping Post-Deployment Testing: Successful staging tests do not remove the need to check the live website after deployment. Verify important pages, forms, payments, tracking, redirects, and integrations again.
- Treating Staging as a Backup: A staging website may contain experimental, outdated, or incomplete changes. It is not a replacement for secure, versioned, and restorable backups.
- Keeping Old Staging Websites Forever: Unused staging copies increase storage requirements, maintenance work, and security risks. Remove obsolete environments after confirming that they are no longer required.
Staging Website Security Checklist
Before using a staging environment, confirm the following:
- Access is password-protected.
- Search engine indexing is disabled.
- A separate database is being used.
- Database credentials are not exposed.
- Sensitive customer data is masked.
- Live payment gateways are disabled.
- Real email delivery is blocked.
- Production webhooks are disabled.
- Debug logs are not publicly accessible.
- Directory listing is disabled.
- HTTPS is active.
- Software is updated.
- Default passwords are removed.
- File permissions are secure.
- Backups are available.
- Unused staging environments are deleted.
FAQs:)
A. A staging website is a private copy of a live website used to test updates, design changes, plugins, code, content, and new features before publishing them for real visitors.
A. No. A live or production website serves actual visitors. A staging website is a restricted testing version that should remain separate from real users and business data.
A. You should use staging if website changes could affect functionality, sales, leads, security, user experience, or SEO. It is particularly valuable for business, membership, SaaS, and eCommerce websites.
A. It can become visible if it is publicly accessible and not protected correctly. Use authentication, noindex, appropriate headers, and sitemap controls to reduce indexing risks.
A. Yes. You may create one manually on a subdomain or use a free staging plugin. However, hosting resources, storage, premium tools, or technical support may involve additional cost.
A. Self-hosted WordPress does not provide a universal built-in staging system for every host. Many hosting companies, cPanel tools, and WordPress plugins provide staging functionality.
A. No. A staging website is used for testing, while a backup is used to restore data. A complete website management strategy needs both.
A. Yes. Testing WordPress core, theme, and plugin updates is one of the most common uses of a staging website.
A. Use the payment provider’s test or sandbox mode. Avoid real transactions and live credentials on staging.
A. Avoid using identifiable customer information whenever possible. Use anonymised, masked, or artificial data, particularly when access is shared with developers or agencies.
A. Refresh staging before major development or testing so that it accurately represents production. The right frequency depends on how often the live website changes.
A. A properly protected staging environment should not affect SEO. Problems can arise when search engines index duplicate staging pages or when staging directives such as noindex are accidentally moved to production.
A. Test design, navigation, links, forms, checkout, payments, email, mobile responsiveness, browser compatibility, performance, SEO settings, accessibility, security, analytics, and rollback readiness.
A. You can use a hosting push-to-live tool, selective file synchronisation, Git deployment, a CI/CD pipeline, manual upload, or database migration. The correct method depends on the website and type of change.
A. Yes. Staging is still an internet-connected application and may contain vulnerabilities or sensitive data. It needs authentication, updates, secure credentials, HTTPS, and proper access control.
Conclusion:)
A staging website is not merely an additional copy of your website; it is an essential safety environment that allows you to test updates, new features, plugins, design changes, code, and integrations without affecting real visitors.
It helps website owners and development teams identify problems before deployment, protect business revenue, reduce downtime, maintain SEO performance, and provide a better user experience. However, the staging environment must be secured properly, kept separate from the production database, blocked from search engine indexing, and tested carefully before changes are moved to the live website.
“A successful website update begins with private testing and ends with a carefully monitored deployment.”
Whether you manage a simple blog, business website, eCommerce store, membership platform, or SaaS application, using a staging website can make every important update safer, more organised, and more professional.
Read also:)
- What Is JavaScript Async? A Complete Beginner’s Guide!
- What Is Full Stack Web Development: A-to-Z Guide for Beginners!
- What Is Lazy Loading? A Complete Guide to Faster Websites!
Hope you liked this article about What Is a Staging Website and How Does It Work. If you have any questions or suggestions related to website staging, please feel free to comment below.