In this article, I am going to tell you How to Build a WordPress Website? so if you want to know about it, then keep reading this article. Because I am going to give you complete information about it, so let’s start.
Before website-building platforms became popular, people needed coding knowledge to build a website. Nowadays, anyone can easily create a website with the help of open-source content management systems (CMSs) such as WordPress.
As the most popular CMS, WordPress powers over 43% of all websites, and its market share surpasses other CMSs. TIME Magazine, Sony Music, and TED Blog are several famous websites built with WordPress.
Creating a WordPress website is relatively straightforward as it provides features like plugins and a user-friendly WordPress dashboard. Moreover, website owners don’t need coding skills to use WordPress, making this platform a good option for beginners.
This article will cover a complete guide on How to Build a WordPress Website. We will also go over various tips to help you develop a great website, from choosing a web hosting plan to optimizing your site performance.
Let’s get started.
Table of Contents
How to Build a WordPress Website:
In this article, there are seven essential steps on How to Build a WordPress Website. We hope, that this article has provided you with valuable insights to get started with your first WordPress website. Let us know about these steps.
1. Choose a Credible Web Hosting Provider
Web hosting is a service that provides resources such as storage space, bandwidth, and processing power to help you publish a website on the internet. It is an essential part of launching your WordPress site, so it’s crucial to choose the right web host.
Generally, web hosting companies offer various services such as shared hosting, virtual private server (VPS) hosting, cloud hosting, and dedicated hosting. Each hosting service often has multiple package options with different features and benefits.
Choosing a web hosting service that suits the website’s needs is important. If you plan to grow your website quickly, pick a hosting service that offers better scalability, like VPS or cloud hosting.
Moreover, we recommend paying attention to the following aspects when choosing your web host:
- Uptime. Having high availability or uptime is crucial in ensuring your website’s performance. So, look for a web hosting company that offers an uptime guarantee.
- Scalability. Select a hosting provider with scalable hosting services so you don’t have difficulty upgrading resources.
- Support. Ensure that the web host offers 24/7 support so that you can ask them for help in case of any issues.
- Reputation. Prioritize reputable hosting providers when researching. Read online reviews or ask existing users for their testimonials.
2. Pick and Buy a Domain Name
After selecting your web hosting provider, the next step is to choose and buy a domain name. A domain is a unique digital address used to access a particular website, such as google.com – where “google” is the domain name and “.com” is the domain extension.
A domain name is an essential part of a website, but it also gives your site various other benefits. For example, it can help boost the website’s online presence and increase brand awareness. A domain name can also be a good investment if you plan to sell it in the future.
Since a domain name is a long-term investment, follow these tips to help you decide on a good one:
- Keep it simple and concise. A shorter domain name helps improve site memorability.
- Make it the same as your business name. Using a domain similar to your business name can help boost brand recognition.
- Avoid using numbers and hyphens. These two aspects make your domain name look unprofessional.
Check the availability of your preferred domain name using a domain checker tool. If it is still available, you can proceed by choosing a domain extension and finishing the domain registration process.
Keep in mind that the price of a domain name varies depending on several aspects, like the domain registrar and extension. Therefore, we recommend researching good registrars or finding a web host that offers a free domain name with its hosting plans.
3. Install WordPress
There are two main ways of installing WordPress on your web hosting account. The fastest and easiest way is using a WordPress auto-installer provided by your web hosting provider, which will only take a few clicks. However, not all web hosting companies offer this feature.
The second method is manually installing WordPress via a File Transfer Protocol (FTP) client or the web hosting provider’s File Manager. The process is quite straightforward, similar to installing software on your computer. Here is a step-by-step guide:
- Download the latest version of WordPress.
- Open either an FTP client or a File Manager provided by your web hosting provider, then access the destination folder for installation.
For instance, if you plan to install WordPress on a root domain name, the files should be placed inside the public_html folder. - Next, create a new WordPress database to store your WordPress site’s data and information. You can do this by accessing the MySQL Databases feature via your hosting’s control panel.
- Afterward, access your domain name using a web browser to start the installation process.
Once the installation is complete, log in to the WordPress admin dashboard via your web hosting account or by adding wp-admin after your domain name. Here is an example: http://www.mywebsite.com/wp-admin.
4. Select and Install a Responsive WordPress Theme
You will notice that your new WordPress website uses the default theme to begin with, so it is best to change this with a new one. Since WordPress has thousands of free and premium themes available, we recommend selecting one that suits your website’s purpose and branding.
Many WordPress themes are also responsive, meaning they can automatically adjust to each device’s screen resolution. Using a responsive WordPress theme is crucial to improve the user experience and accommodate visitors using different devices, such as desktops, laptops, smartphones, and tablets.
For example, Astra is a lightweight yet fully responsive WordPress theme. It is a popular free theme that offers a flexible design layout that you can easily customize. It also has a collection of pre-built starter sites that gives your website a professional and modern look.
Installing a theme on WordPress is simple. Follow the steps below:
- From the WordPress dashboard, navigate to Appearance -> Themes.
- Then, click the Add New button and browse through the list of available themes.
- Once you have found the one you like, hover over the selected theme and click Install.
- After the installation is complete, click on the Activate button to use the theme on your WordPress website.
5. Create Custom Web Pages and Posts
Now that you have installed a theme, it is time to customize the WordPress website. You can start making custom web pages and then create blog posts or other forms of web content.
Note that pages and posts are two different WordPress elements. Pages are for static content that doesn’t have categories or tags. Meanwhile, posts can be categorized, archived, and updated regularly.
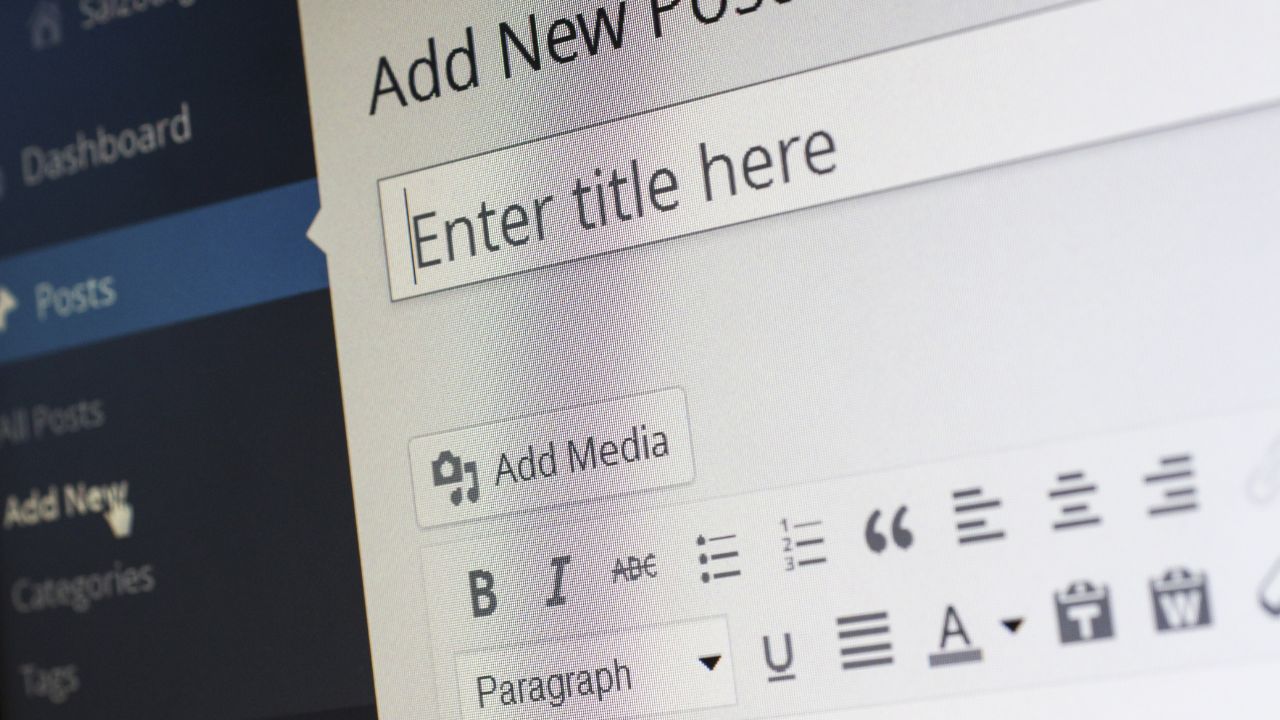
Access the Pages section via the WordPress dashboard to create a new page. Then, click the Add New button to be redirected to the WordPress visual editor. Enter the page’s name, such as “About Us” or “Blog,” then hit the Publish button. Repeat the steps to create multiple pages.
As for creating a new blog post, navigate to the Posts screen. After that, click on the Add New button. The WordPress block editor allows you to add texts, images, and videos, so utilize these features to make quality and engaging content. Once finished, you can check how the content looks by clicking the Preview button before publishing it.
6. Install WordPress Plugins
A WordPress plugin enables you to add or extend your website’s functionality by adding new features. Therefore, installing plugins can make a WordPress website more reliable and engaging while improving its user experience.
You can discover various plugins on the WordPress directory, ranging from social sharing and security to search engine optimization (SEO). Many WordPress plugins are free to download and use, but you can also unlock more features by purchasing premium plugins.
Before installing plugins on your own website, we recommend paying attention to these aspects:
- Compatibility and updates. Ensure that the plugin is supported and compatible with the current version of WordPress. It’s also crucial to determine a plugin’s reliability by checking whether the developer regularly updates it.
- Ratings and active installations. Checking the ratings and number of active installations of each plugin you want to use is an easy way to determine its popularity and trustworthiness.
- User reviews. Read the best and lowest-rated reviews to understand the strengths and weaknesses of the plugin. Also, consider checking online review forums to read real user testimonials.
7. Optimize Your WordPress Website Performance
As your WordPress website grows, it will need more hosting resources. Therefore, optimizing site performance is crucial to avoid slow response times. What’s more, having a fast-loading website is beneficial for your SEO efforts and the overall user experience.
There are various practices to keep your website at its peak performance, such as:
- Using caching plugins. Caching plugins such as WP Super Cache, W3 Total Cache, and WP Fastest Cache let you create a static version of your WordPress site and help to make it load faster.
- Deferring parsing of JavaScript. Most plugins and themes contain lots of JavaScript that can slow down content delivery. Using a plugin like Speed Booster Pack, you can delay the parsing of JavaScript to make visual elements load faster.
- Enabling lazy loading. You can delay loading some elements of your content until they are needed. Simply install the WP Rocket LazyLoad plugin to enable lazy loading.
- Optimizing WordPress images. Image optimization is a method that compresses photos without reducing their quality to boost site speed. You can use an image editor via the WordPress Media Library to do this or use a tool like TinyPNG.
Conclusion!
WordPress offers numerous customization options and high flexibility for building a professional website. Aside from being a popular solution for many experienced web developers, it is also a great option for beginners who want to know about How to Build a WordPress Website and want to create their first WordPress website.
Read also:)
- How to Develop WordPress Theme: A-to-Z Guide for Beginners!
- How to Increase Conversion Rate in WordPress: Full Guide!
- 10+ Best WordPress Shortcode Plugin: A-to-Z Guide for Beginners!
So hope you liked this article on How to Build a WordPress Website? And if you still have any questions and suggestions related to this, then you can tell us in the comment box below. And thank you so much for reading this article.